Introduction
In Week 3, I learnt how to make two AR projects, following steps in 3 AR Workshops.
Workshop 1
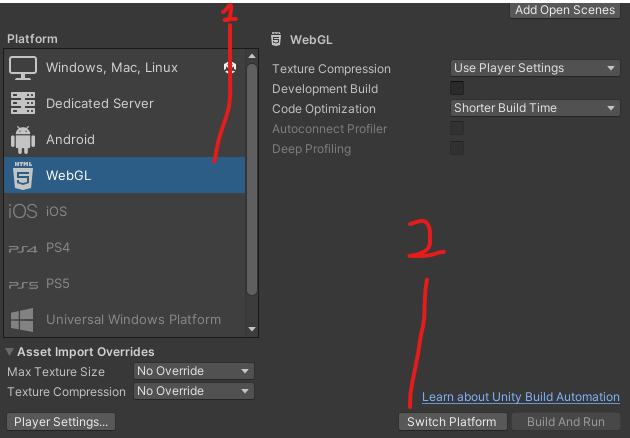
I first opened up Unity and went on Build Settings to select WebGL before switching platforms to the platform I selected.
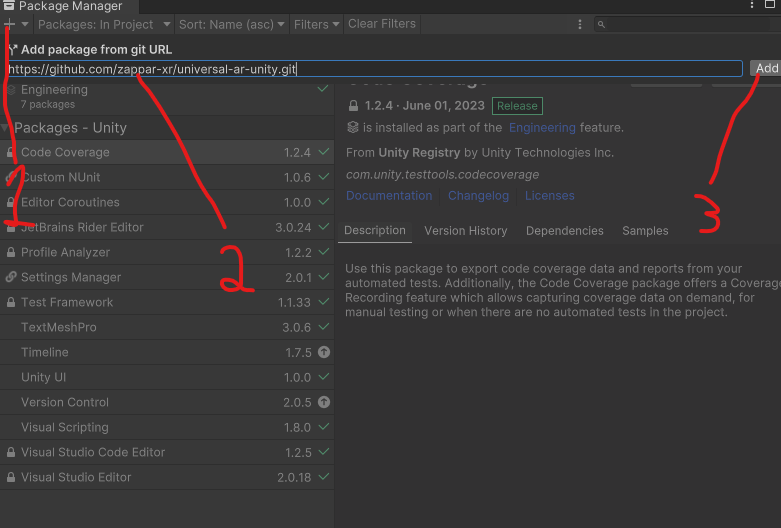
I then went on Package Manager and clicked on the plus icon to add a package from git URL in which I copied and pasted the git URL for Zappar to be added.

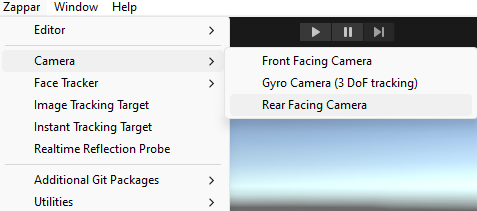
Next, I deleted the main camera from the hierarchy and replaced it with a rear facing camera via Zappar, Camera, Rear Facing Camera.
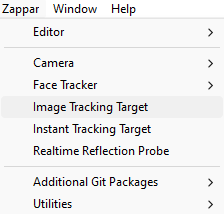
Afterwards, I added an Image Tracking Target via Zappar, Image Tracking Target.

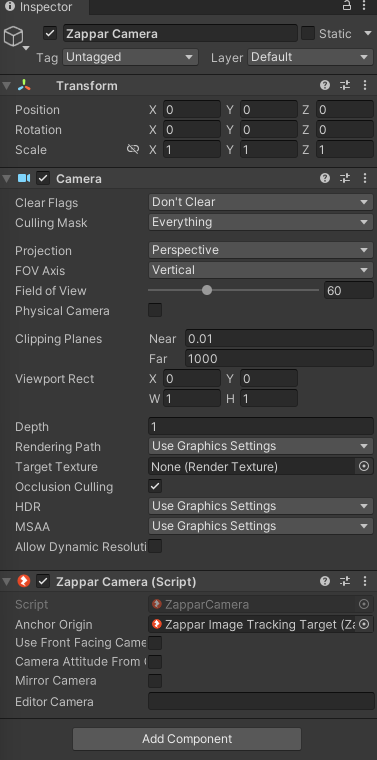
I then clicked on and dragged the Zappar Camera from the Hierarchy to the Anchor Origin of the Zappar Camera Script in the Inspector.
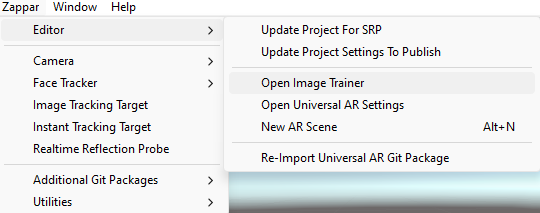
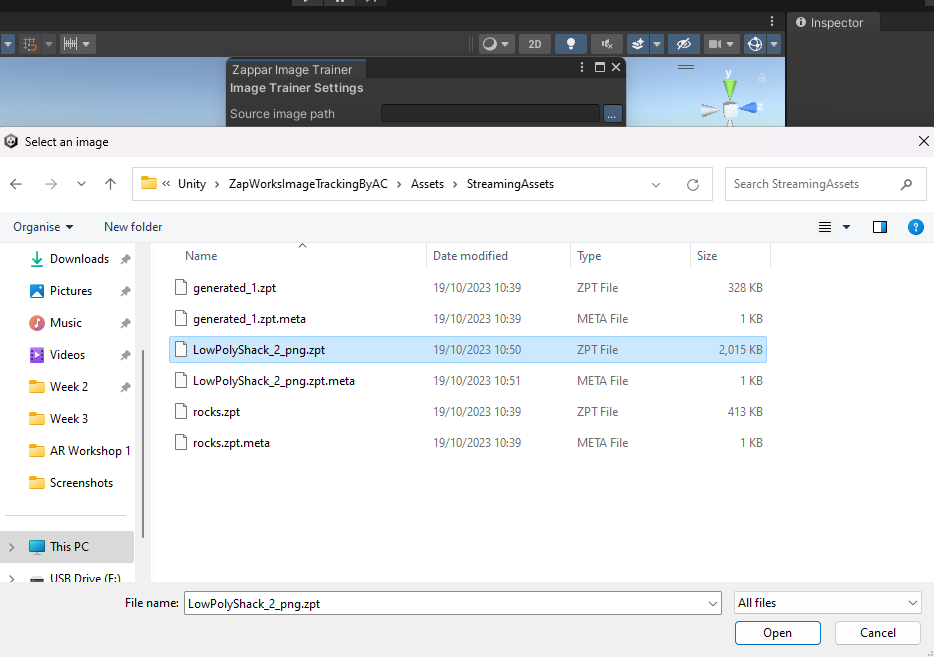
I then added a png of LowPolyShack2 via Zappar, Editor, Open Image Trainer where I selected it as a Source image path before clicking Start to start the image trainer.
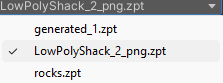
Next, I clicked on the Zappar Image Tracking Target and set the Target in the Inspector to the image target I created.

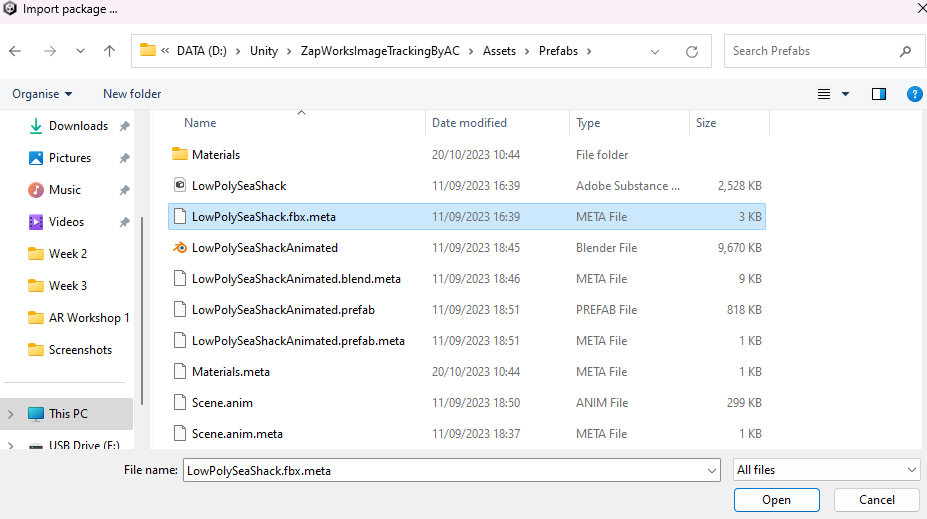
I then added an fbx meta of LowPolySeaShack as a Custom Package via Assets, Import Package, Custom Package.
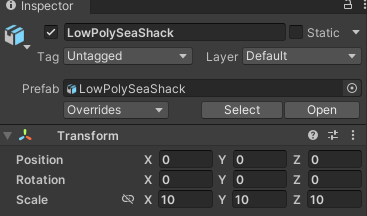
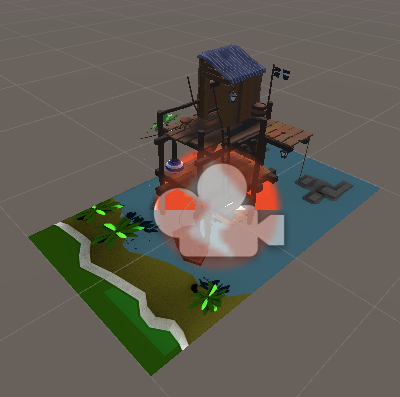
Then I dragged the LowPolySeaShack prefab onto the scene and Hierarchy before I scaled the size of it to axis sizes of 10 where it is big enough to be centred in the Image Tracking Target.

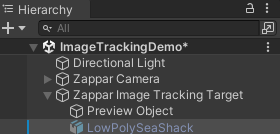
In the hierarchy, I made the LowPolySeaShack poly the child of the Zappar Image Tracking Target.

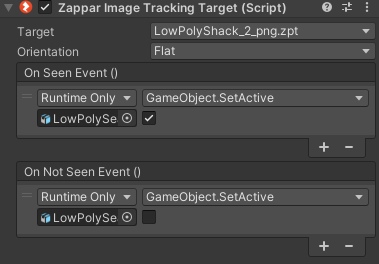
In the Inspector for the Image Tracking Target Script, I have created an On Seen Event and an On Not Seen Event using the LowPolySeaShack game object and SetActive (bool) only to ensure the box only in the On Seen Event is ticked on true to see the progress of the AR project at this stage.
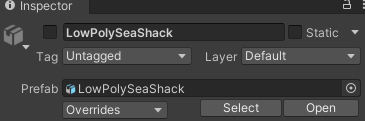
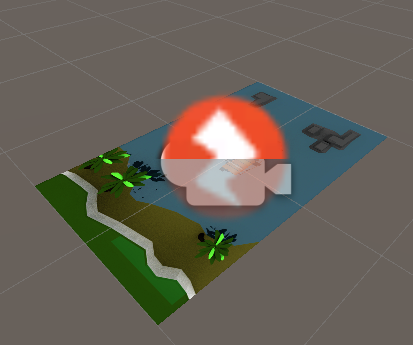
Back on the Inspector but for the prefab of the Sea Shack, I deactivated it by unticking it to ensure it is invisible.
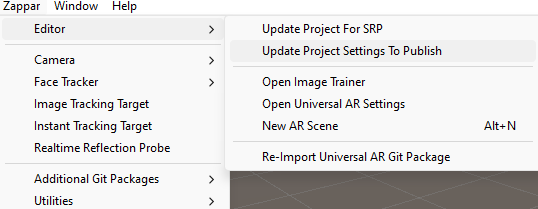
Afterwards, I went on Zappar, Editor and Update Project Settings To Publish to run Zappar’s auto configuration tool to ensure everything is correct and ready to build the AR scene.
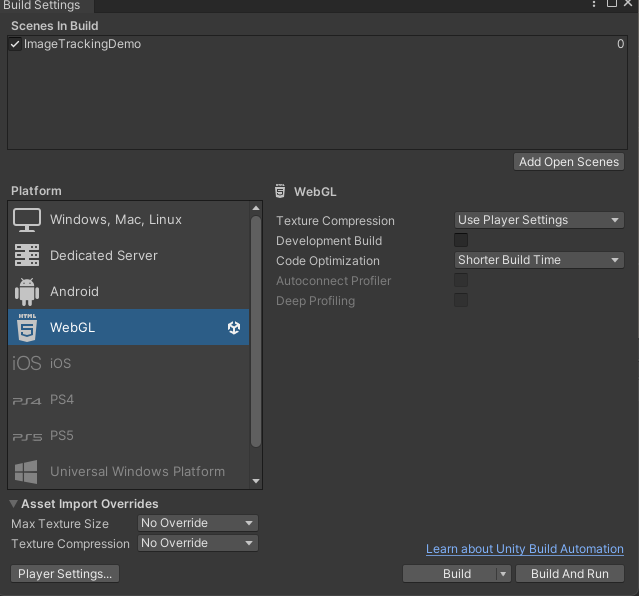

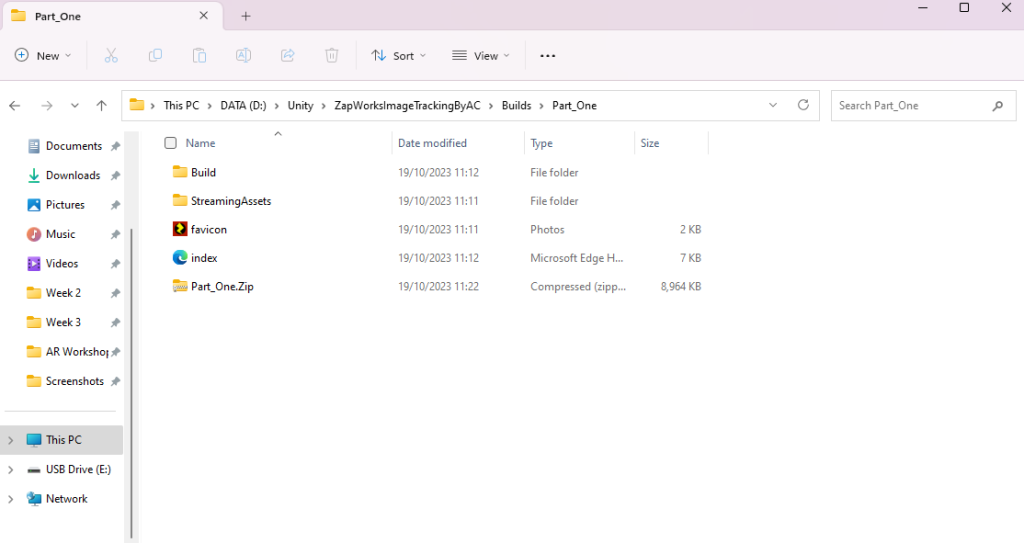
Finally, I went back on Build Settings and Build the AR scene where I made a Builds folder first before making a Part_One folder I then selected to launch the build process. Afterwards, I made a zipped folder of Part_One that I have put inside the normal Part_One folder ready to be used for the second AR Workshop.
Workshop 2

I learnt how to upload and publish my AR project on Zapworks. First I logged in using my University email before creating a new project, going on Projects and then clicking on the orange/red new project sign. Next, I selected Universal AR as the Project Type and Unity as SDK before going to the Control Panel to put my project name and change the trigger name via the trigger panel.
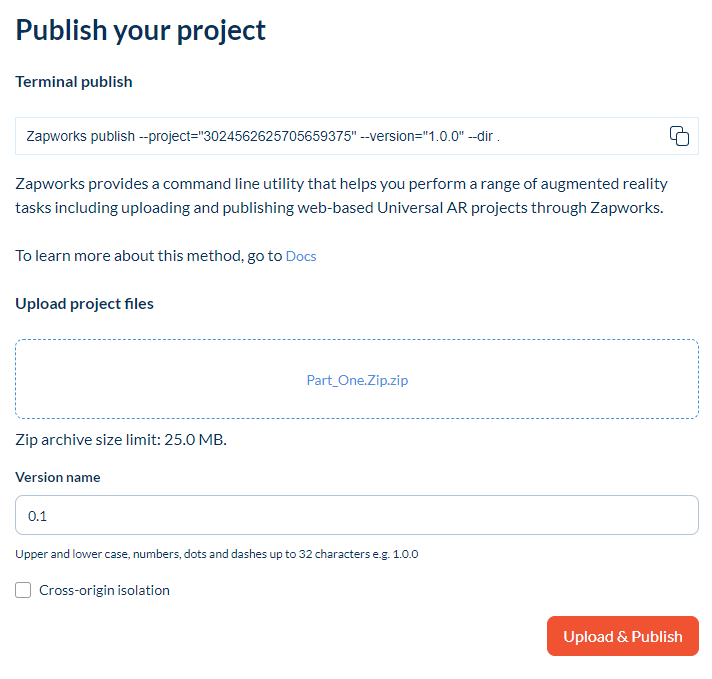
I then clicked the Upload/Publish button to upload my zip folder and put the version name as 0.1 before testing it out on one of my phones where I scanned the QR code of my AR project to find the image tracking target on an iPad that has it and the result was great!
Workshop 3

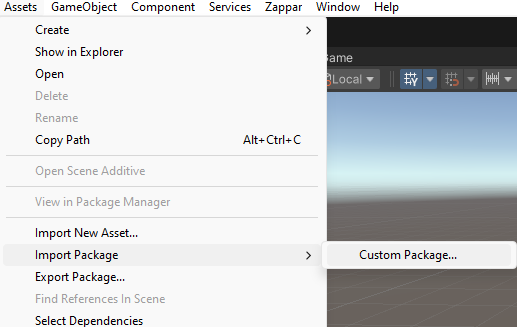

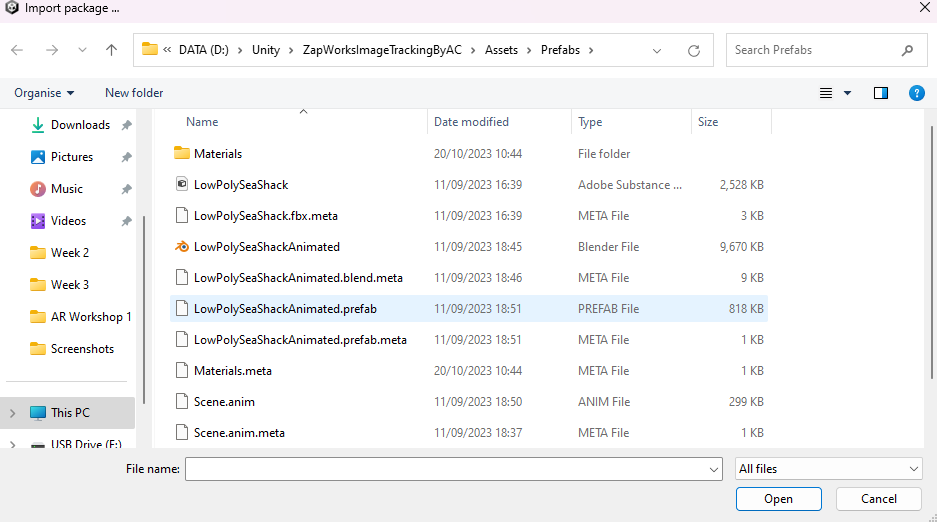
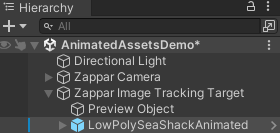
I went back in Unity to go through the same method as in Workshop 1 where this time I added an animated AR project, so I grabbed a prefab of the animated sea shack via Assets, Import Package, Custom Package.
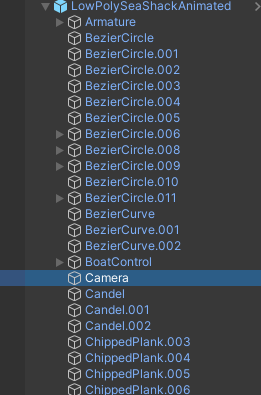
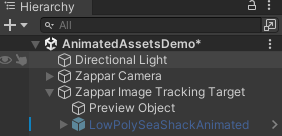
Then in the Hierarchy, I went through the animated sea shack to delete a random camera that was put as the animated sea shack’s child.
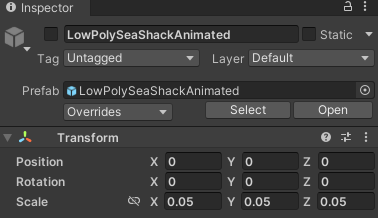
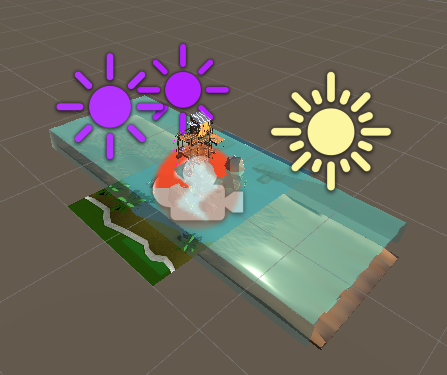
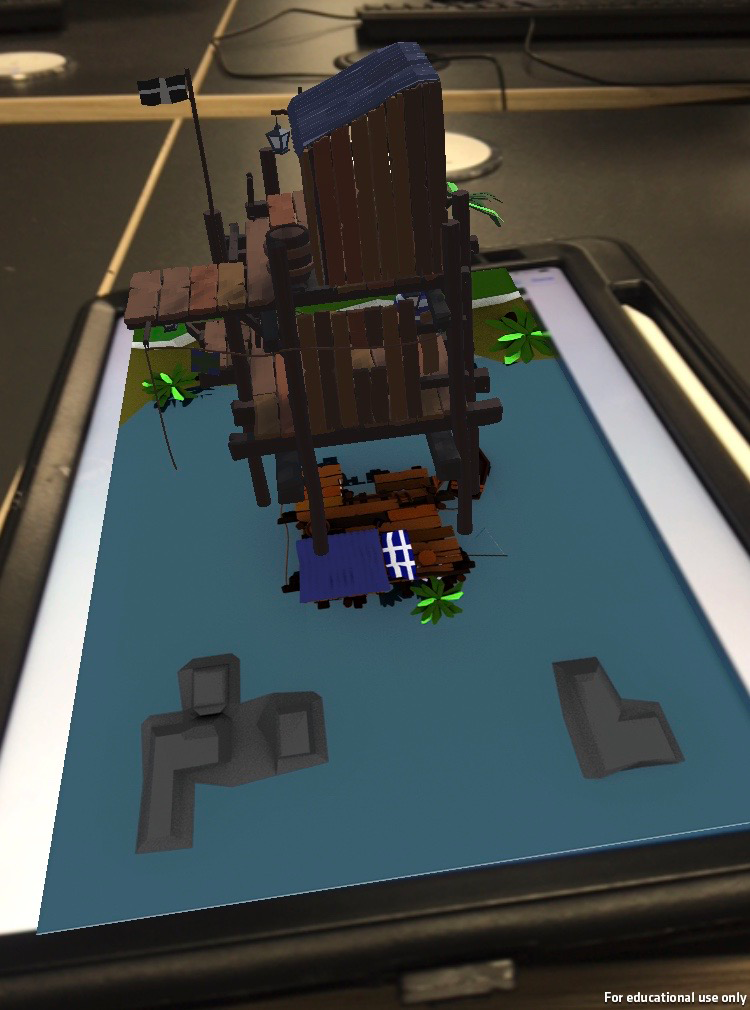
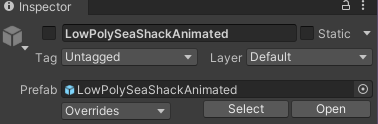
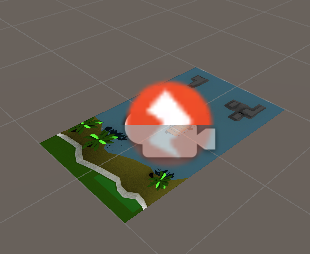
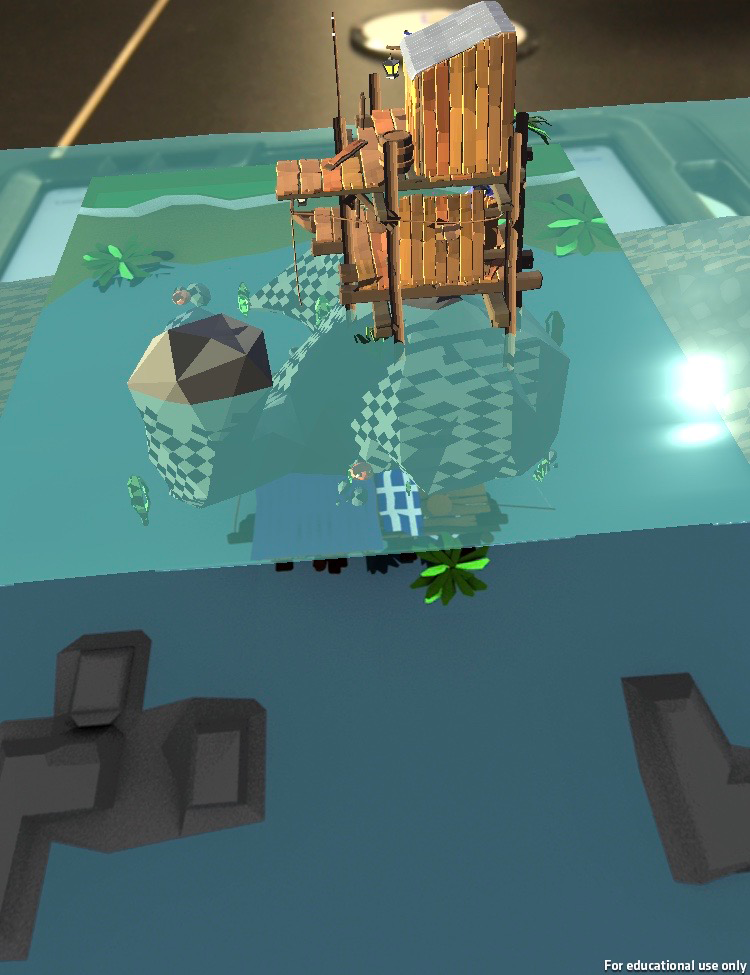
In the Inspector for the animated sea shack, I scaled it to 0.05 on all scale axis to ensure I got the right result and that it didn’t slow down the process of my animated AR project. Then in the Hierarchy, I made the animated sea shack a child to the Zappar Image Tracking Target before I took a screenshot of how the animated sea shack looked.

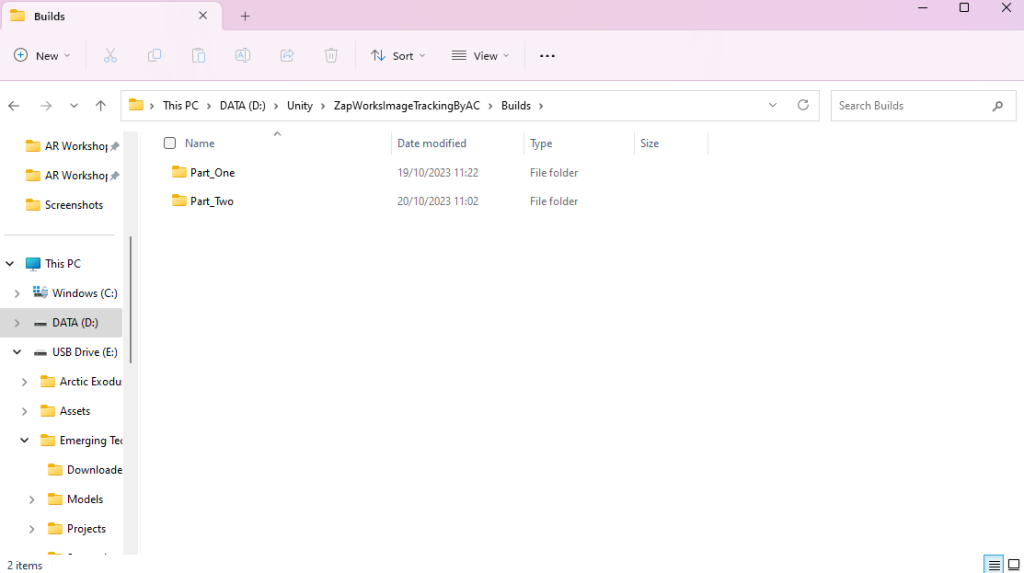
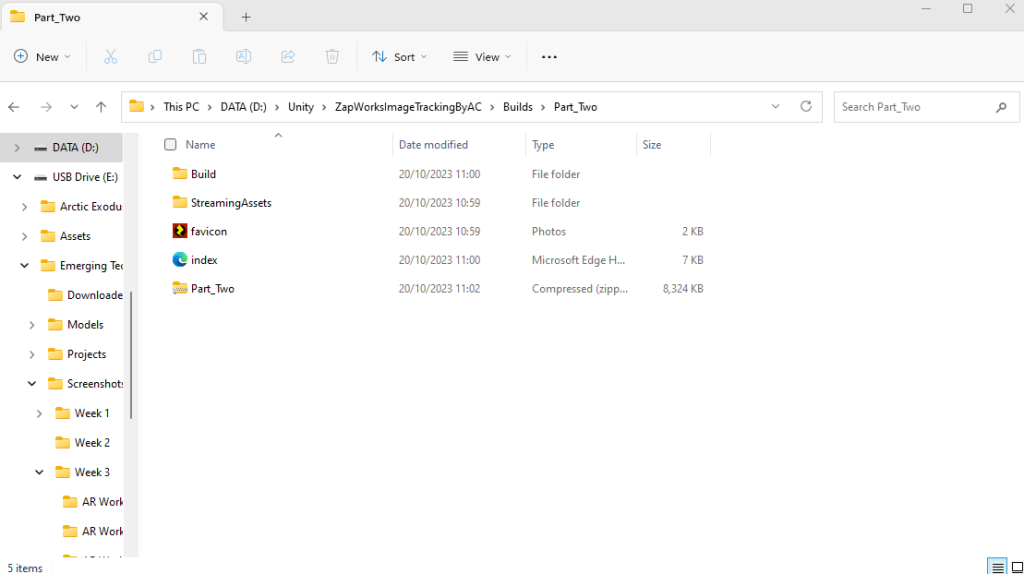
Then I resumed with the same method of finalising and building my animated sea shack where I made another folder called Part_Two and added a zip file with the same name as my Part_Two folder.
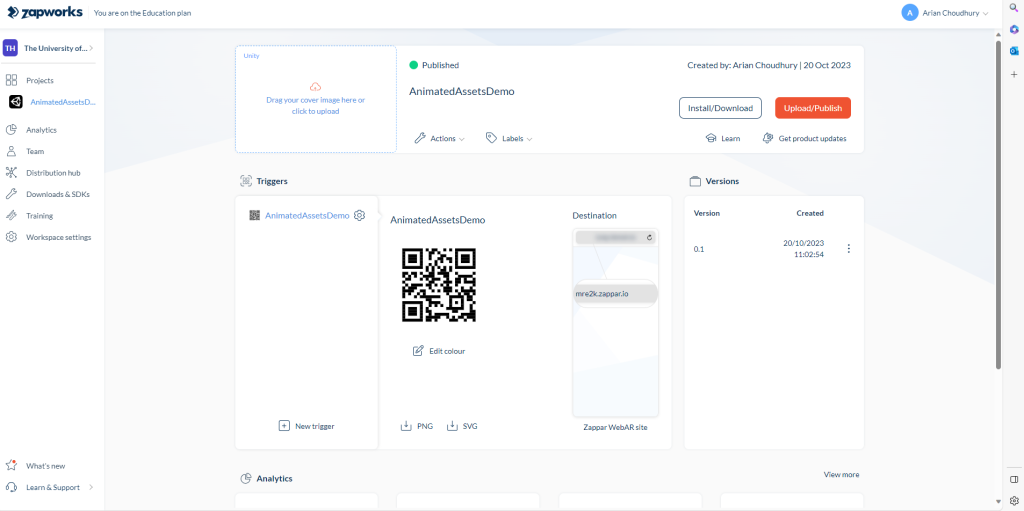

Finally, I went through the same method on Zapworks this time on how to upload and publish my animated AR project and once done, I tested it out on one of my phones, finding the same image tracking target on an iPad and it brought a great result!
Conclusion
In conclusion, I feel creating AR projects are easier than making VR projects, so I will take the opportunity to make my very own along with the use of Adobe Aero which I have mentioned in my Project Plan.
My Projects
ImageTrackingDemo: https://my.zap.works/projects/3024562625705659375/
AnimatedAssetsDemo: https://my.zap.works/projects/881108608648118456/