Introduction
This is a development log where I explain my contribution to the finished game project of my group. It is essential I take part in making a game with a group where we have something to work on for our major projects for whatever game we make. I am in a group with Dylan (who was in my Collaborative Game Project group), Keir, Ryan and Cohen with our studio being named Spooky Specialists. Our game is called Beacon Hotel based on votes on Game Name Ideas via our group presentation. Our game is a game where players solve puzzles and kill enemies that are resemblant of chess pieces.

Pre-Production
Game Idea
We came up with a game where we enter a hotel would use a torch with flashlights to complete a series of puzzles and destroying enemies that are resemblant of chess pieces and have infected the hotel.
My Concepts
I have most of my UI concepts that inspired me to make good use of UI blueprints in Unreal, a software I have used for production:

Development Week 1

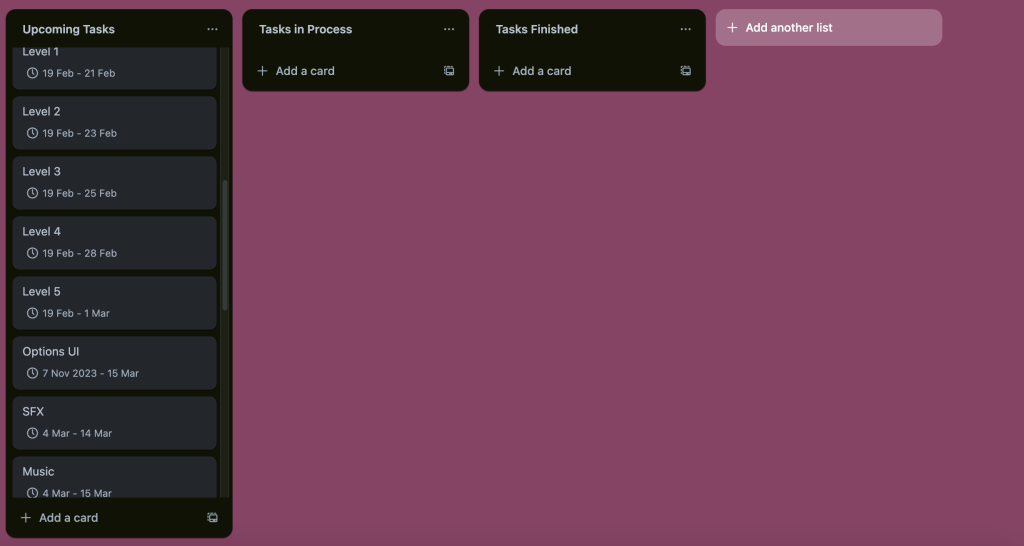

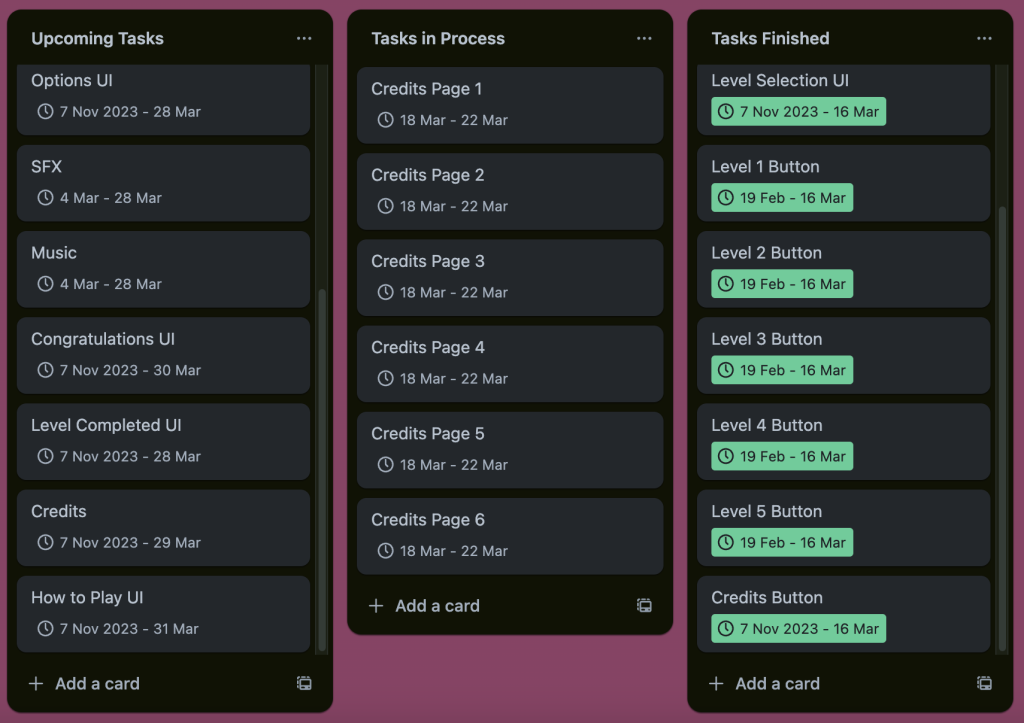
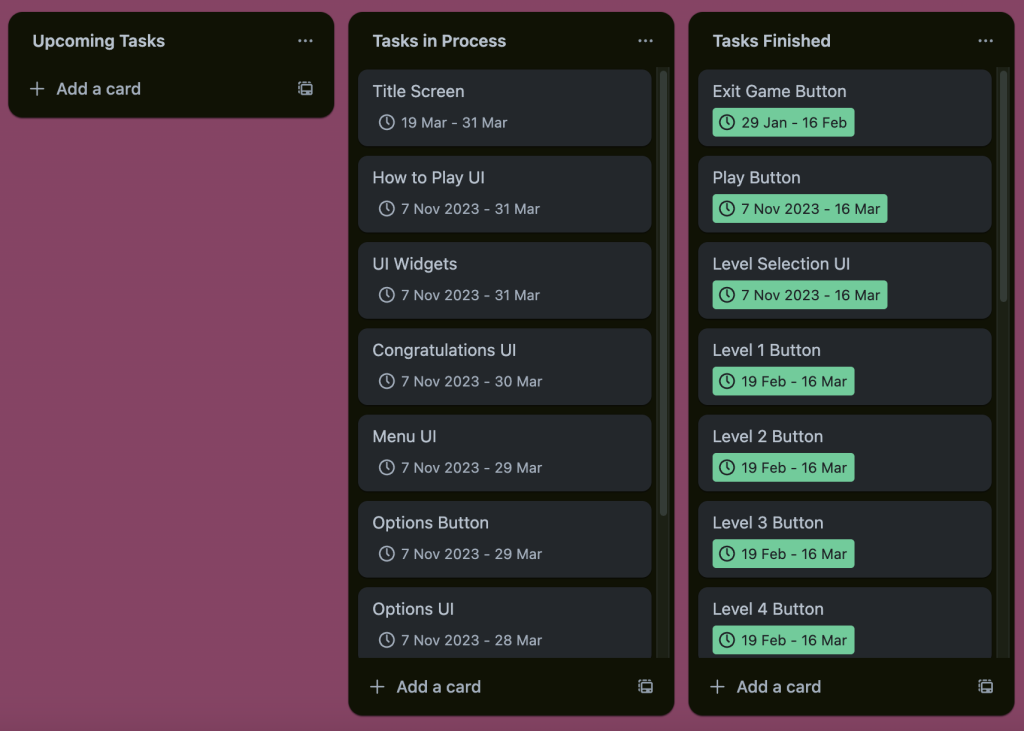
For Week 1, I went on Trello to make tasks and sort out deadline for each and made three tabs to indicate upcoming tasks, tasks in process and finished tasks where I moved 6 tasks to Tasks In Process in order to prepare for my Menu UI creation.

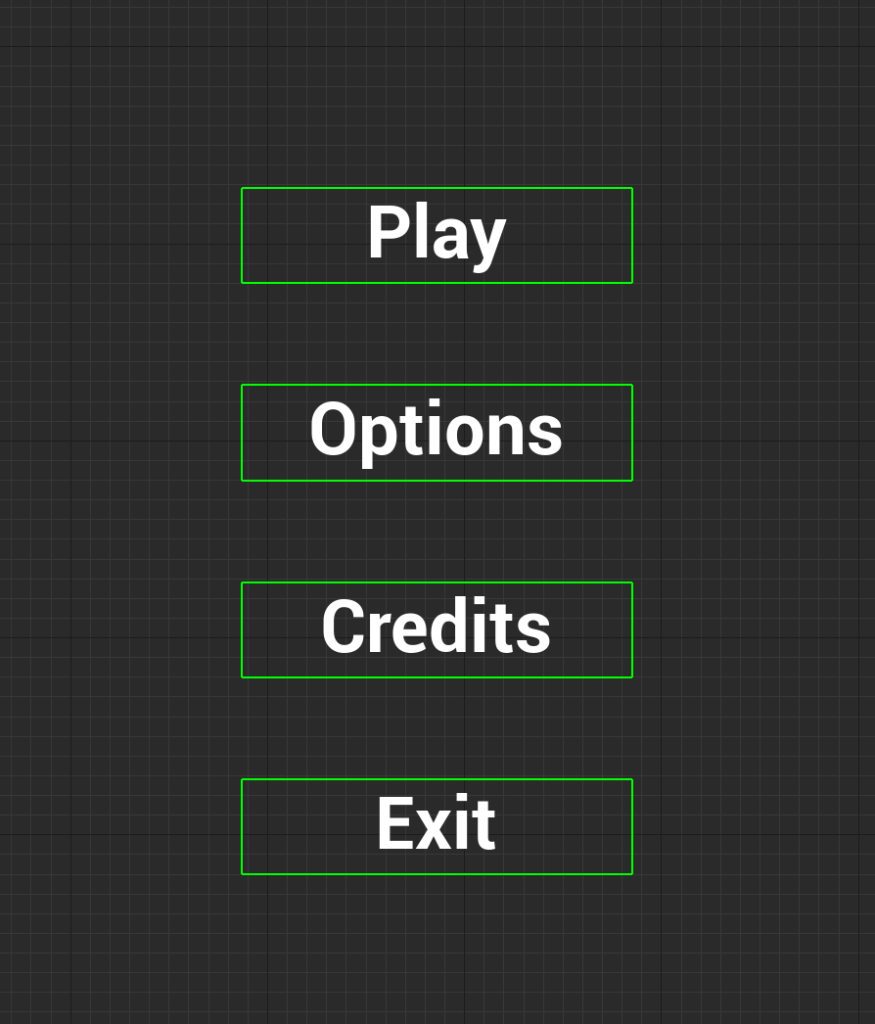
Afterwards, I went on Unreal Engine where I added a WBP (Widget Blueprint) for the main menu where I created it in the Blueprints folder and then put a canvas before adding four texts that would become four buttons that I would later on function. For every other UI blueprint widget I added, I followed the same technique on how I drag a canvas to widgets.
Development Week 2
Unfortunately, I did not get enough time to do anything new for my UI project as of Week 2 as I was at that time more focused on sorting out some other assignments.
Development Week 3


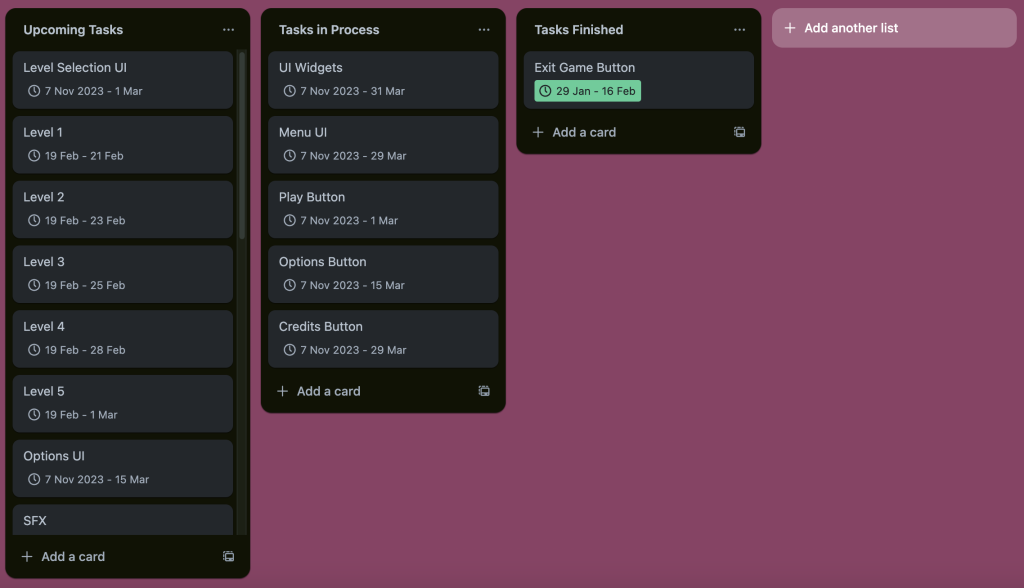
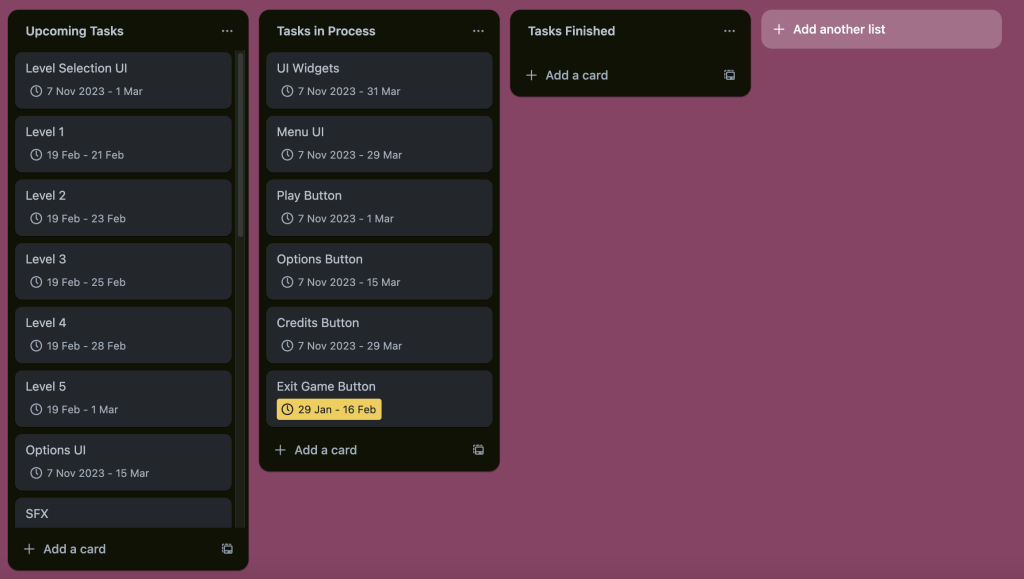
However, In Week 3, I added buttons for all four texts for the Main Menu UI and managed to add an event for the exit game button on time for the deadline for the exit button, thanks to tutorials I have watched on YouTube that are referenced. I would later go back on Trello to extend deadlines for extra tasks as I felt I would need more time to get the best qualities out of my UI projects, a new technique I would later experience and learn about.
Development Week 4
For Week 4, I added a new widget blueprint for the Options UI, adding a canvas for texts to be added in case if I needed to add sliders or On and Off buttons for both Music and SFX.
Development Week 5

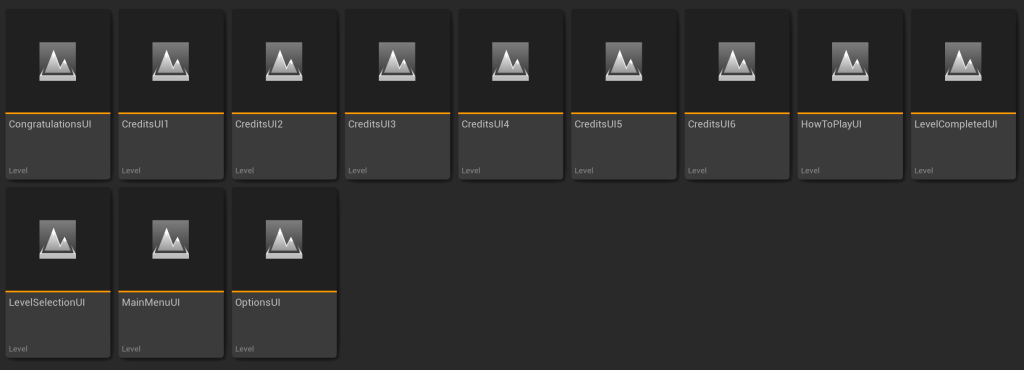
For Week 5, I added some new widget blueprints for Credit Pages, Level Selection and Level Complete UIs in place for production.

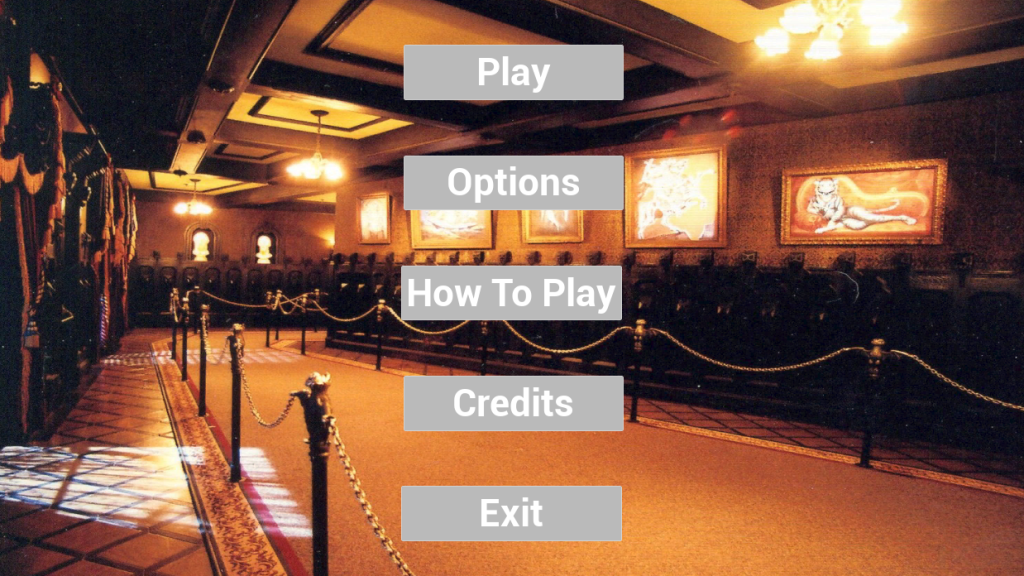
Afterwards, I went on the internet to find an image of a mansion hallway until I found one that I bookmarked a url for it via my laptop in which the bookmarked url for my chosen main menu image is referenced in this development log.
Development Week 6

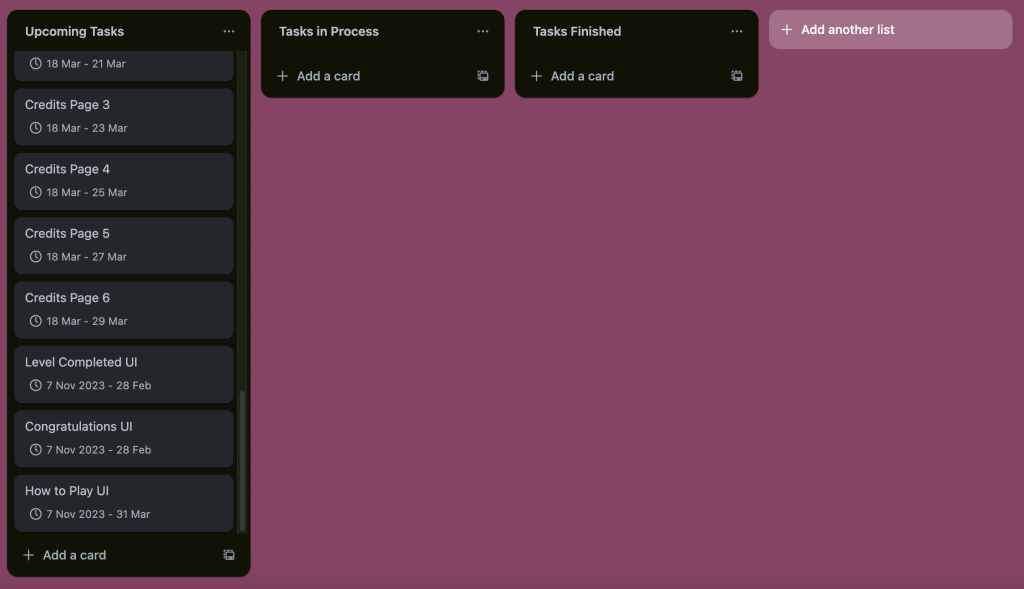
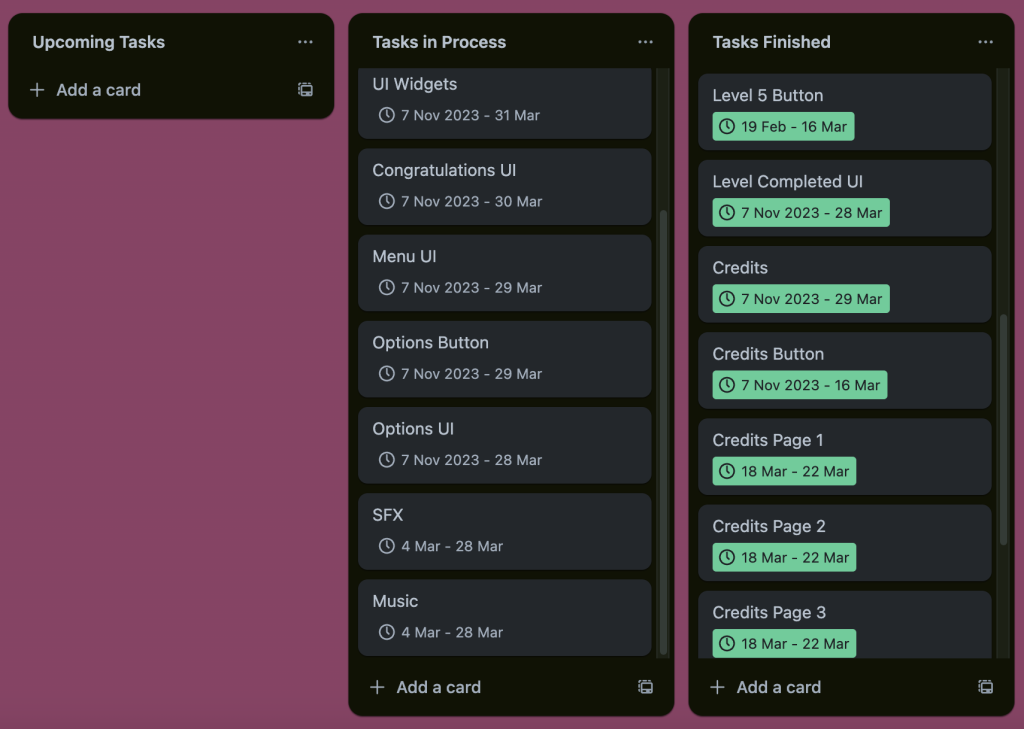
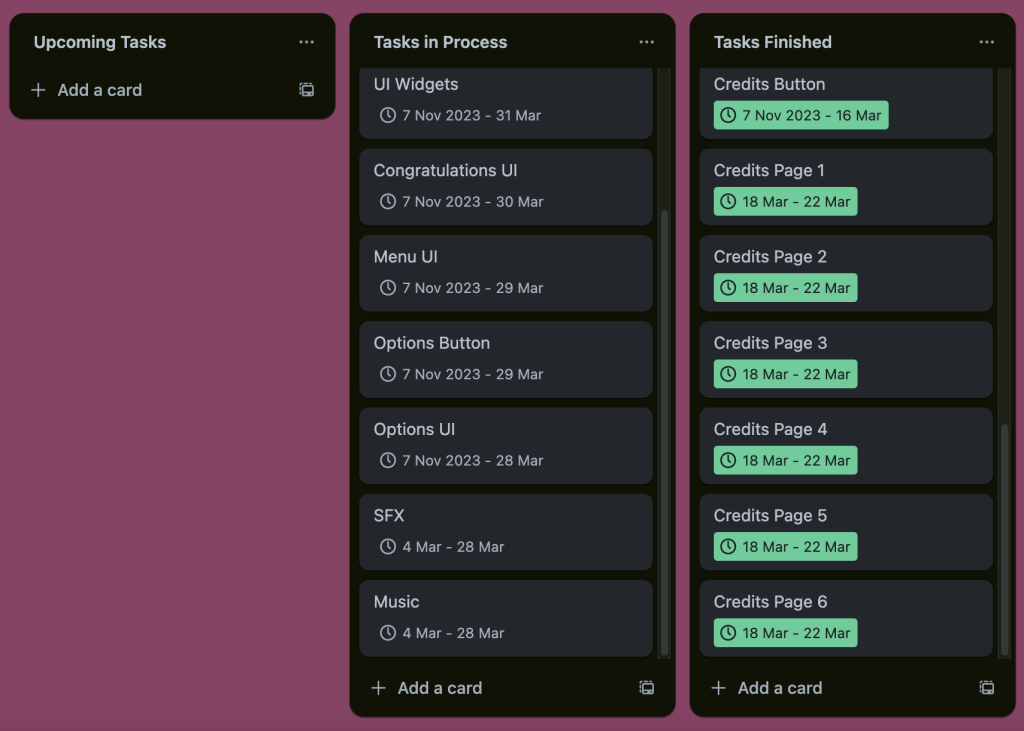
Firstly, In Week 6, I extended deadlines of my unfinished tasks to certain dates where I felt I needed more time to get the best qualities out of those upcoming and current tasks as of Week 6. This image shows highlighted examples of tasks I extended deadlines on via Trello, a technique I remember since Week 3 of my project development where I change starting and finishing times and dates to whatever time I needed for great quality projects.

I then added levels for UIs I have brought in to test them out using level blueprints before bringing a new widget blueprint for the Congratulations UI prepared for production.
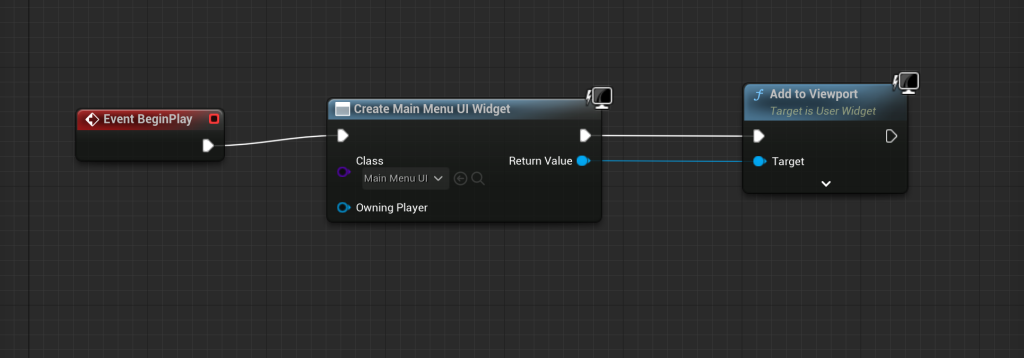
Afterwards, I added a level blueprint event for the Main Menu UI to ensure the Main Menu UI is seen when testing the level out, thanks to a tutorial I have watched that is referenced in my development log.

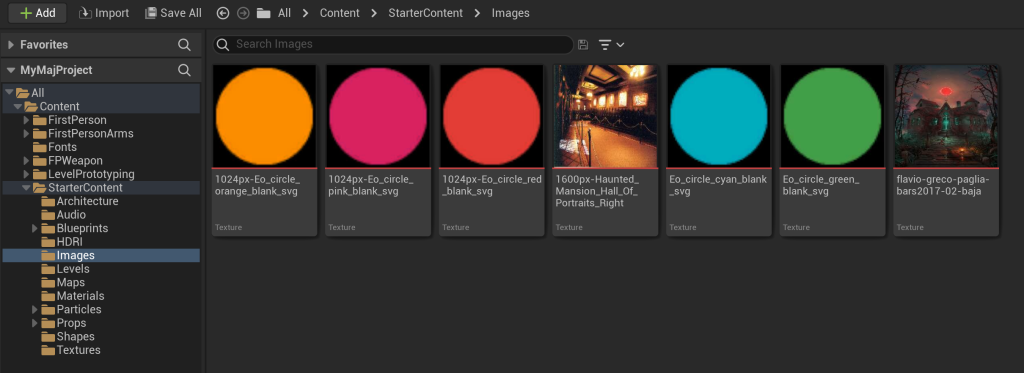
Meanwhile, I went on the Level Select UI blueprint and added a background image for my Level Select UI, selecting it and heading over to Appearance where I dropped down the Brush section to see Image where I added any, in which I went with a metal aluminium image from Unreal to make a board for elevator buttons. I then added 6 circles that represent elevator buttons that are used as buttons that send players to whatever level.


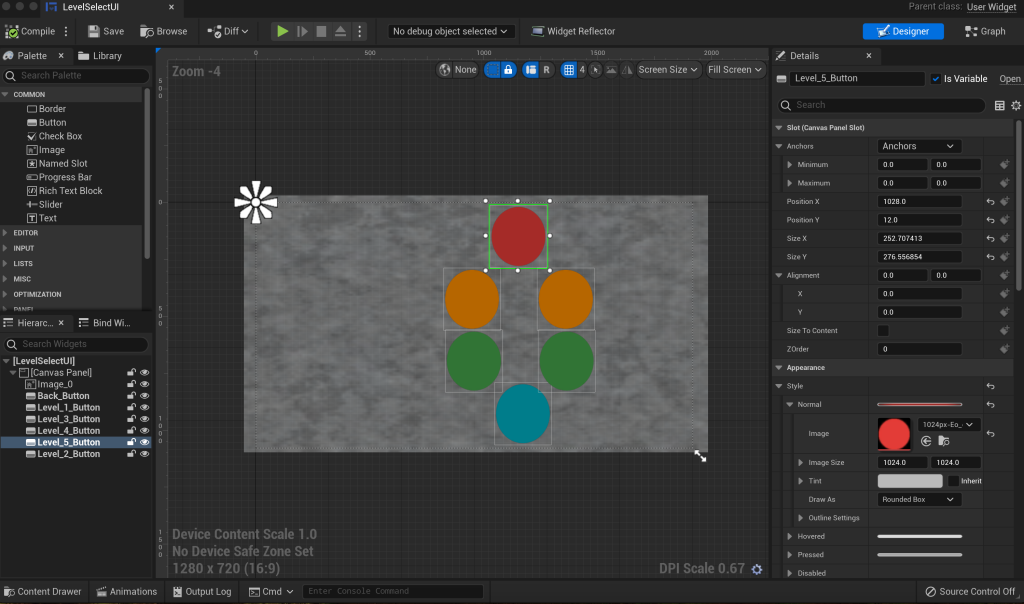
I then removed the 6 circles that were pink as a test before replacing them with red, green amber and blue circles. These coloured circles are referenced in this development log.

Then I added text fonts where I put any letter and number for every button with the letter G being for the blue back button and ground floor, numbers one and two for the green buttons of the first two floors leading to two easy levels, numbers three and four for the amber buttons of floors 3 and 4 leading to medium levels and number five for the red button of the fifth floor leading to the hardest and final level of our game.

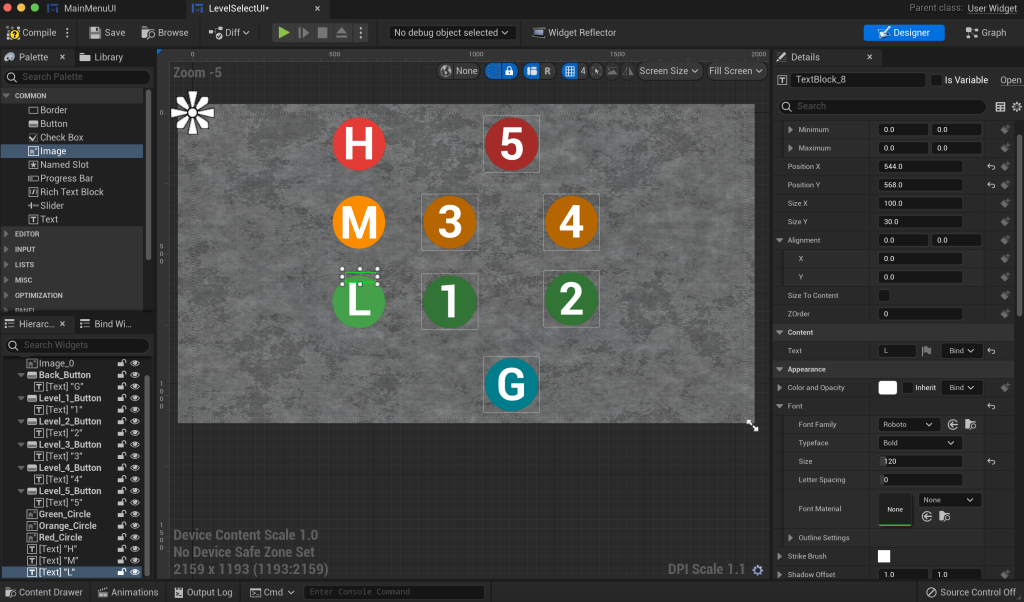
I then added three more circles that represent images where I later added Letters L, M and H to ensure L stands for Low and means Easy, M stands for Medium and H stands for Hard. I put L in the green circle, M in the amber circle and H in the red circle to help the players find out which levels are easy or harder.


I then added a level blueprint event for the Level Select UI to ensure it is seen when testing the level out, then added an event for the back button of the Level Select UI that leads back to the Main Menu UI.
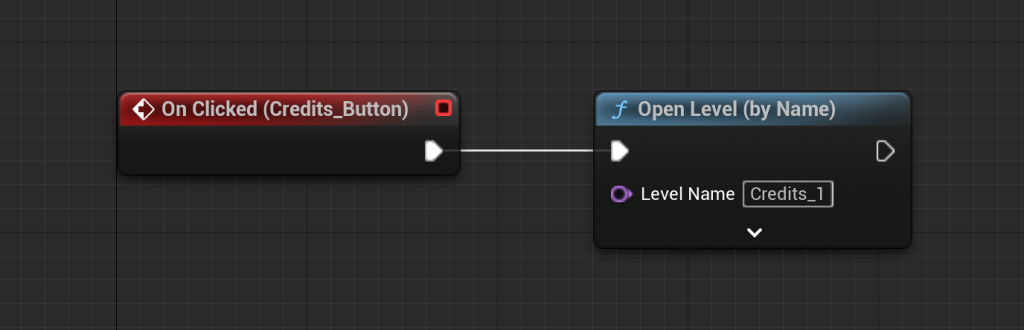
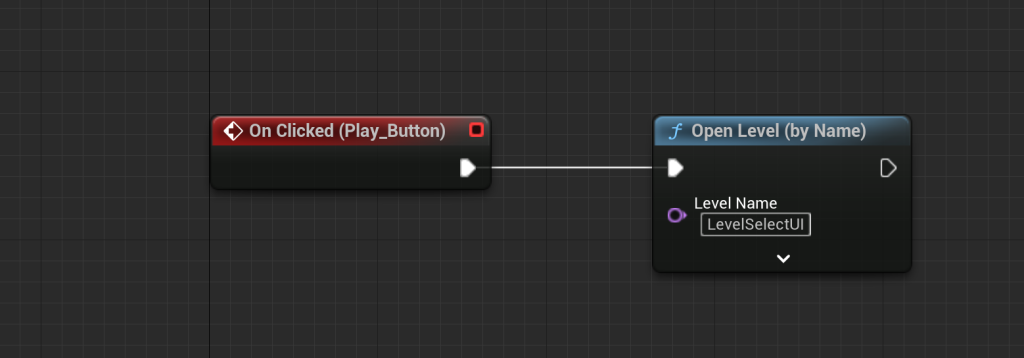
I then went back into the Main Menu UI to add an event for both the Play and Credits buttons where the Play button would take players to the Level Select UI whilst the Credits button would take players to the first credits page. Look over to Development Week 8 to see what I have done for the level buttons.
Development Week 7


For Week 7, I extended deadlines for some tasks that I felt I needed more time to work on in order to get the best qualities out of my remaining projects at that time and to focus on a Level Completed UI I have added on my Unreal project for production.
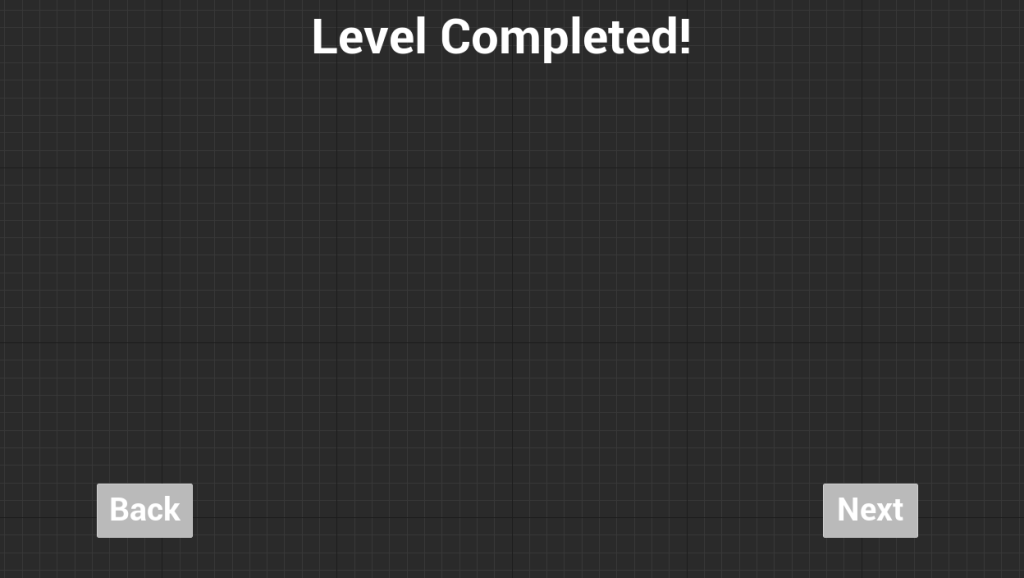
After adding the Level Completed UI widget, I went into it and added buttons and a text stating ‘Level Completed!’ for the Level Completed UI widget to ensure players understand they completed a level and have the option to go into the next level or go back to the menu.
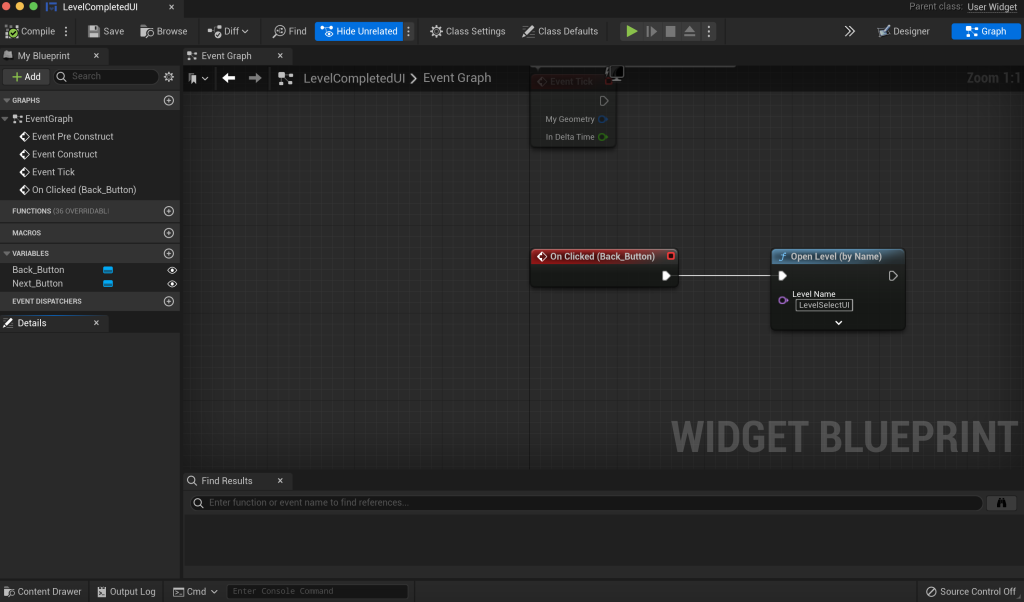
I then added an event for the back button of the Level Completed UI as at that time, I had no experience on adding an event on the next button that would take players to a level until May, in which I have added screenshots of extras I added, mentioned in the Extra Stuff paragraph of my blog, if you look through there to see what I have done there.
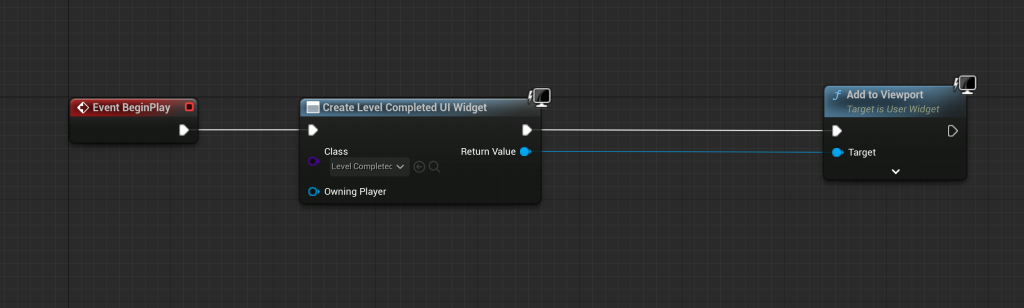
I then made a level blueprint event for the Level Completed UI, ensuring the UI is seen and working well when testing it out.


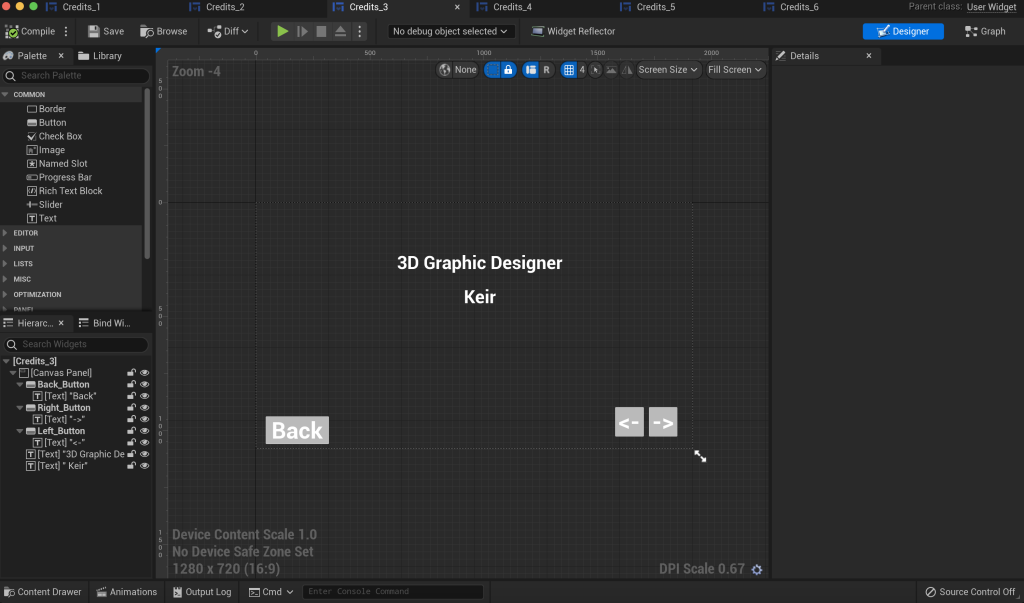
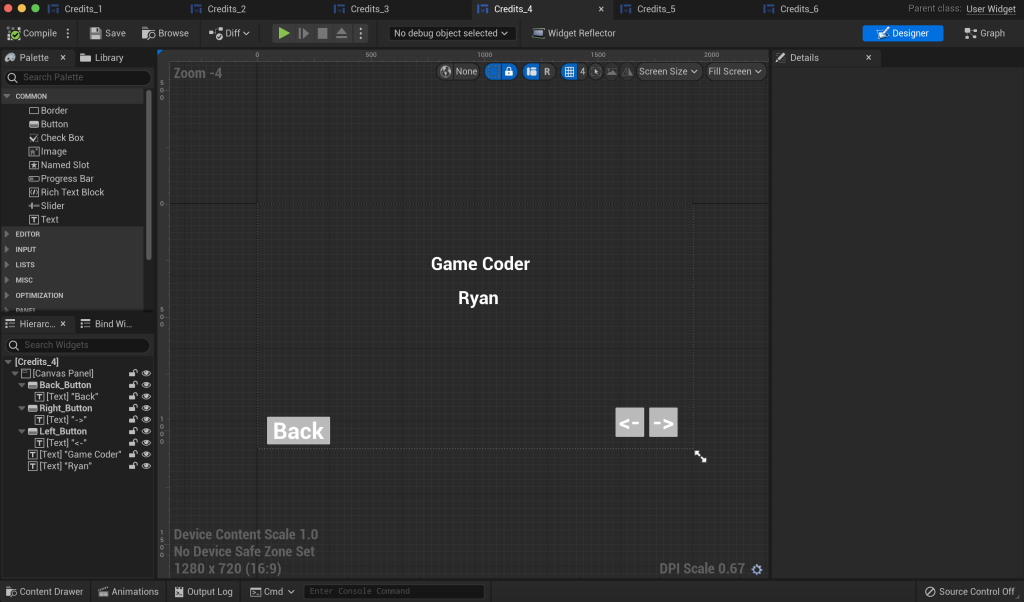
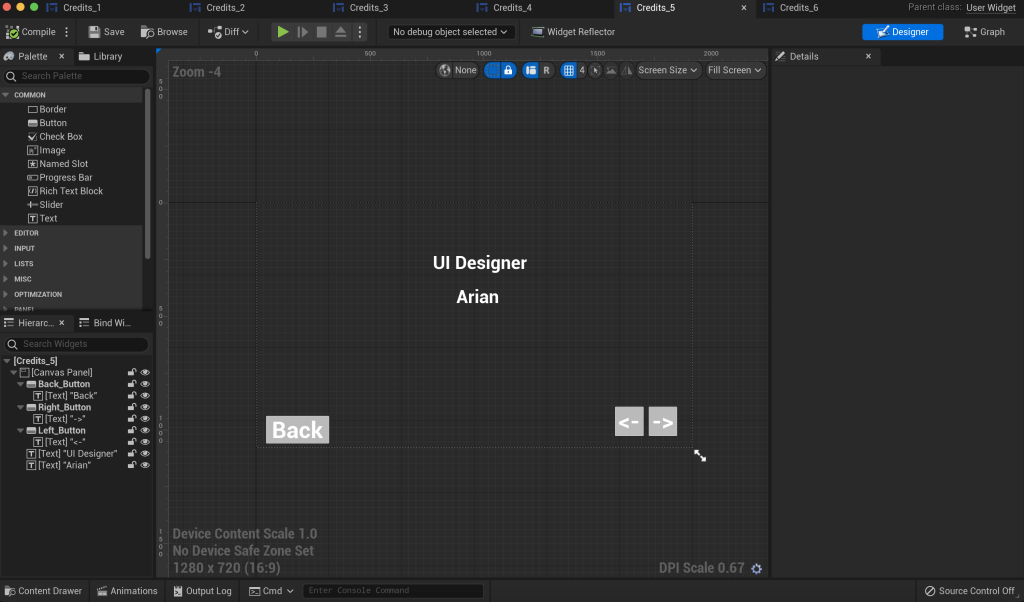

I then made six credit UI pages, adding buttons and texts for who takes the role of making our game before adding events for the buttons, ensuring players go through all pages and go back when they want to.
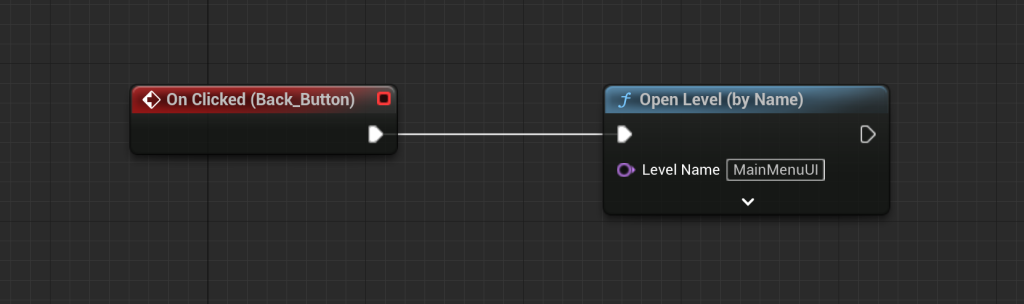
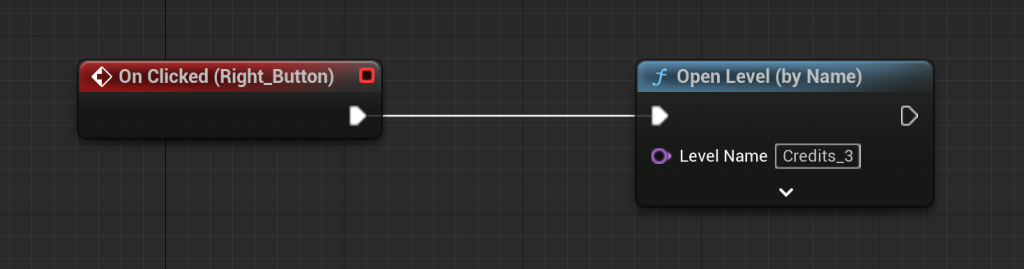

I also added events for any back, left and right button used for any credit page UI. An example here is shown in screenshots for events for a back, left and right button used for the Credits_2 UI, ensuring players can go left and right on the credits pages and/or use the back button to get back to the menu UI.
Development Week 8
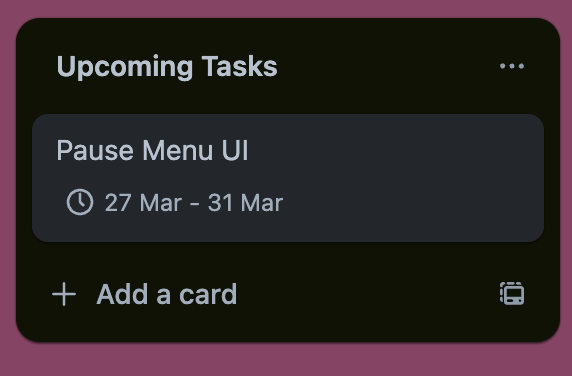
For Week 8, I added a Pause Menu UI task as at that time, I thought of a way I can pause a test level in case if any of my colleagues came up with a pause menu UI.
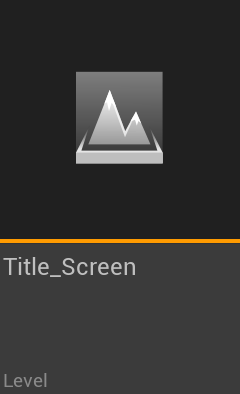

However, I first added a new level and widget blueprint ready to create the Title Screen UI of our game, Beacon Hotel.
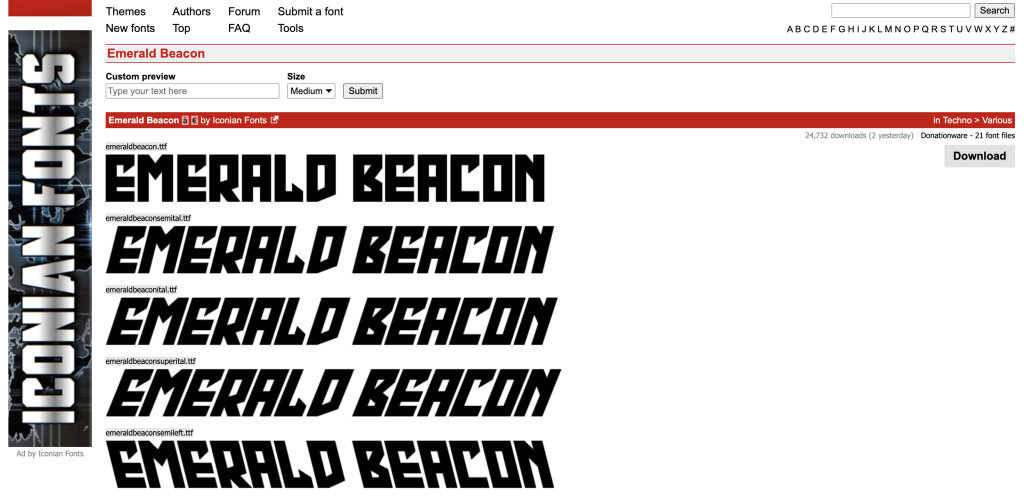
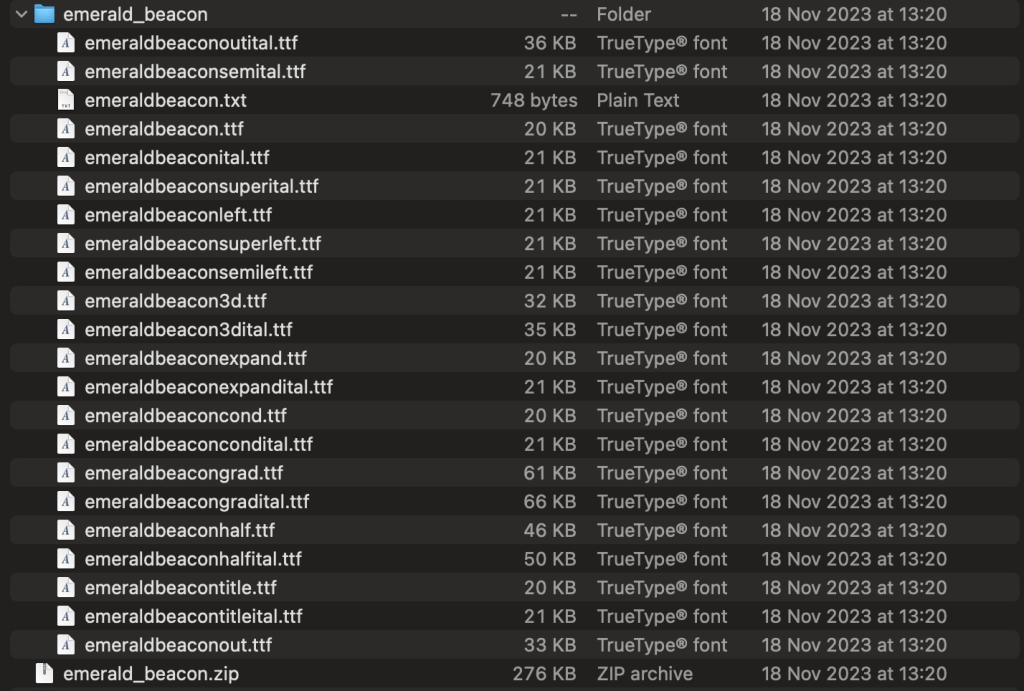

I went on Dafont via my laptop to search up the word “Beacon” and found an Emerald Beacon font to download it and selected the ttf files of the font to put them in my Unreal project.
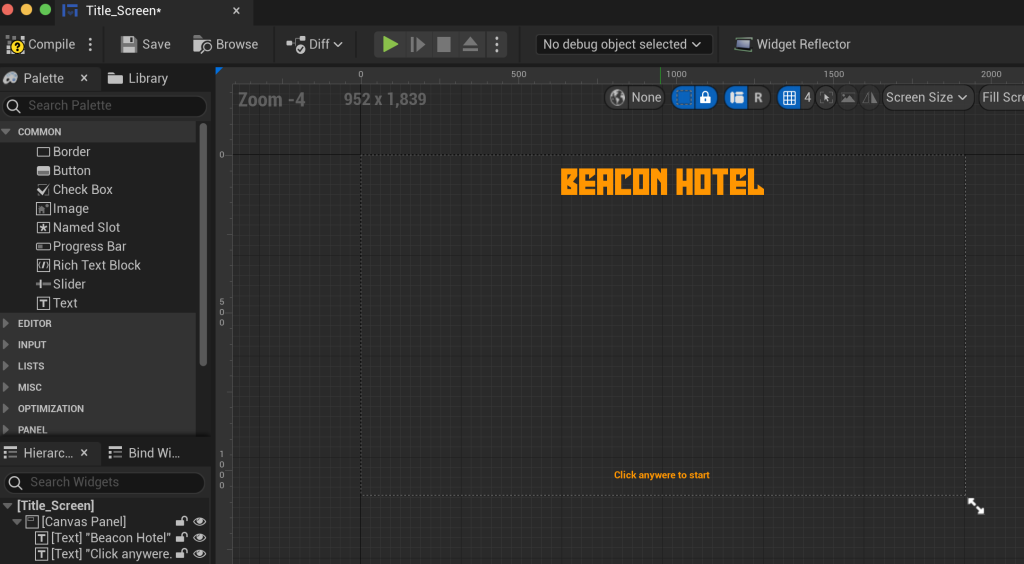
For the Title Screen UI, I added text fonts for the game title and the script stating “Click anywhere to start” so players know how to start the game.
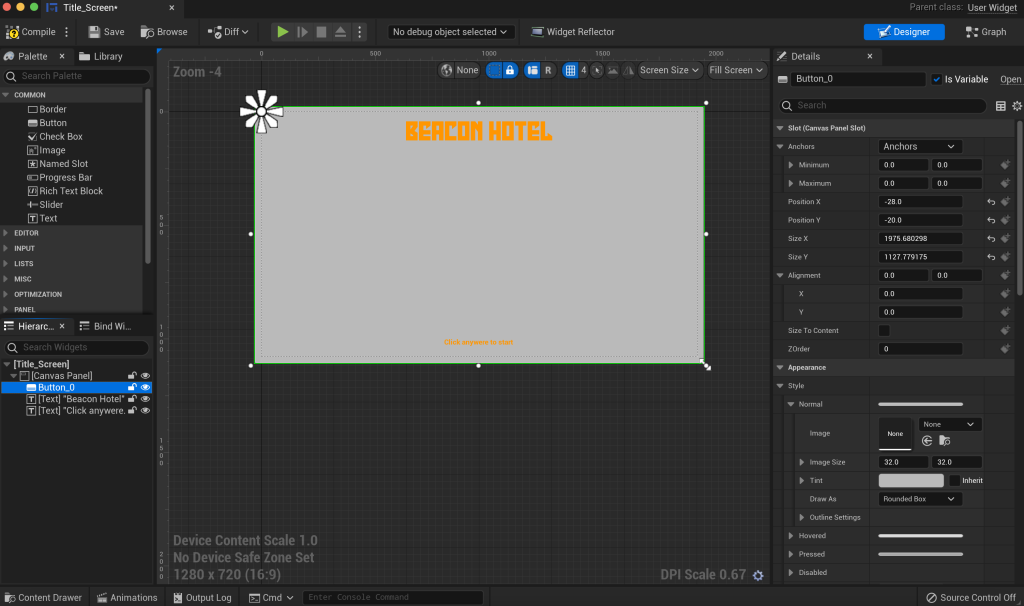
I then added a button that I brought in as a transparent button for the title screen where gamers would click anywhere on the screen to head to the menu of my game.
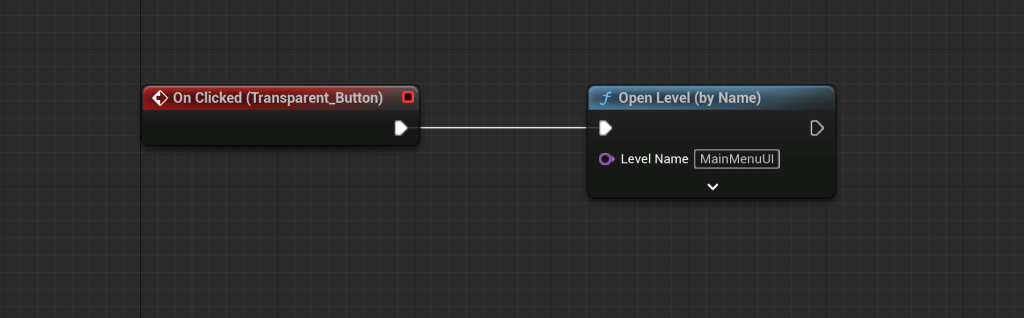
I then added a blueprint event for the transparent button of the title screen UI, ensuring whether the transparent button function actually worked.
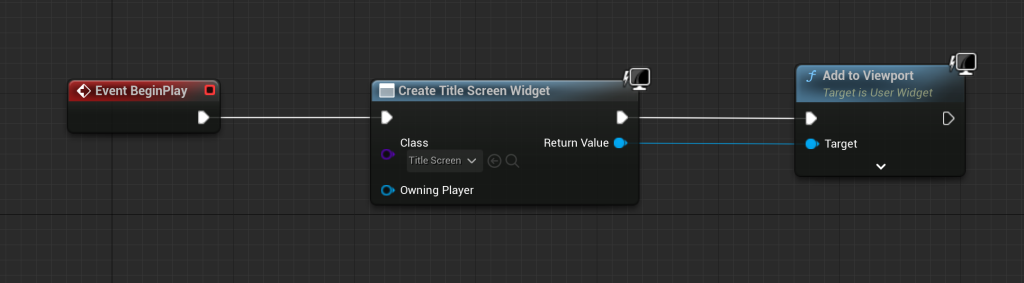
Afterwards, I added a level blueprint event for the title screen UI in order to test the menu and check if I can see the widget blueprint UI when testing the game out.

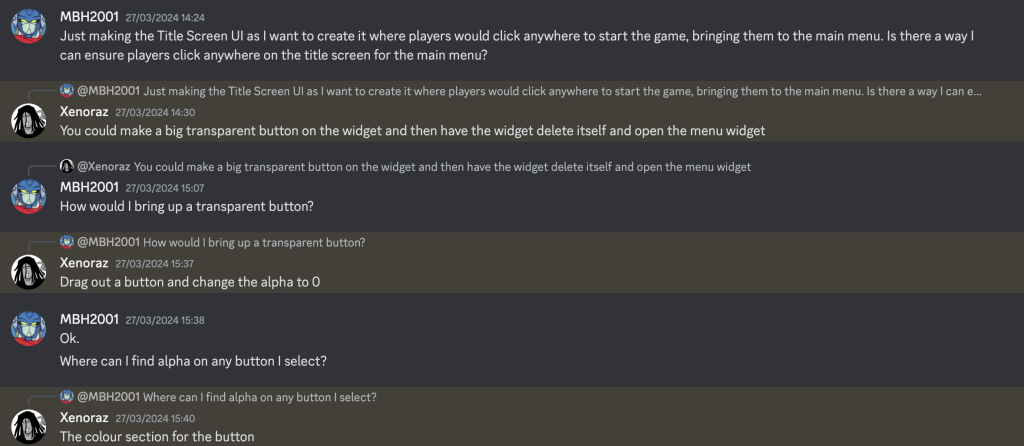
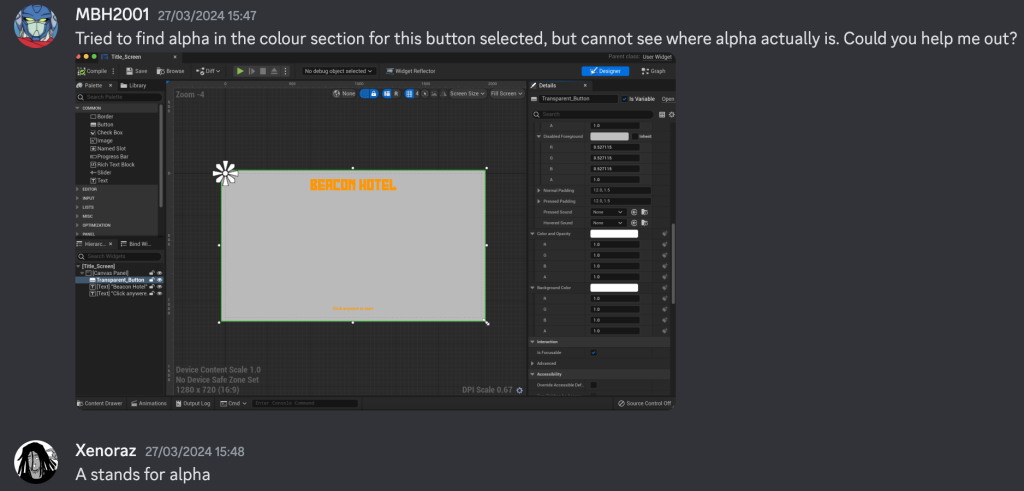
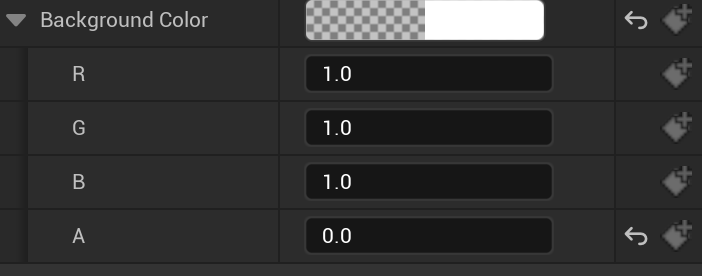
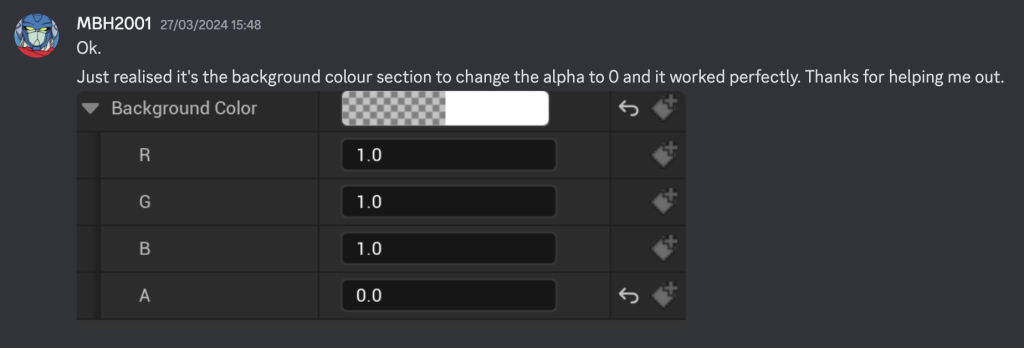
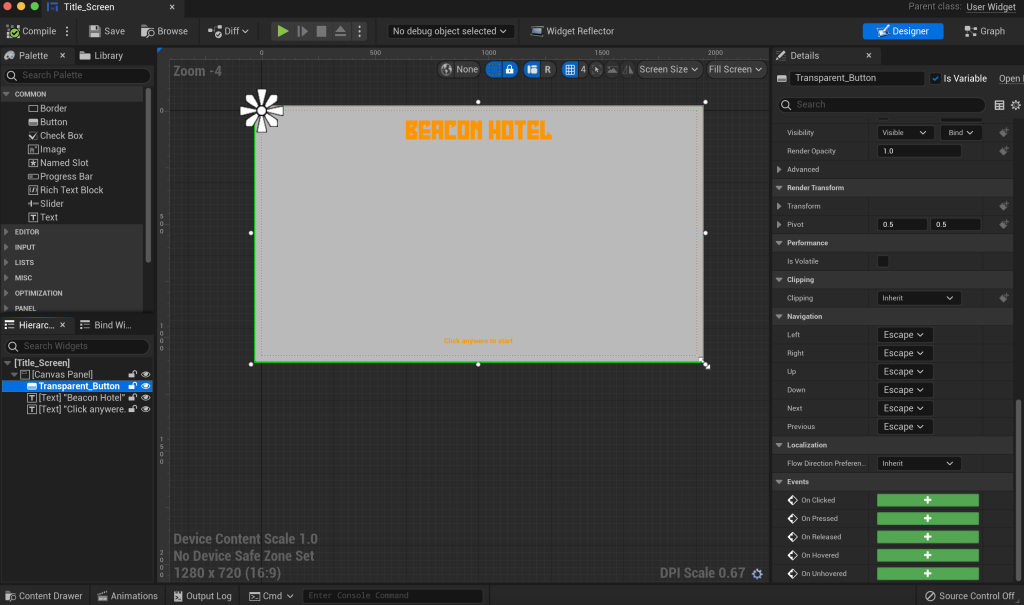
There was an issue in regards to the title screen’s click anywhere function not responding and not bringing me to the main menu UI, so I asked out my colleague for some guidance via our Discord chat and one of them advised me to click on the transparent button in the blueprint editor for the title screen and look for the background colour section to change its alpha value to 0. Afterwards, I tested the title screen UI and it worked, taking me to the main menu UI.
I then added a How To Play button in case if players who try our game are unsure of what the controls are.


I then went into the Options UI widget blueprint where I added a back button along with sliders for Music and SFX. I then clicked on one of the two sliders and looked through the appearance section where I have set the both sliders for Music and SFX to a minimum value of 0 and a maximum value to 100. I then set the value to 100 on both sliders to ensure when players start our game, they should hear background music and sound effects.
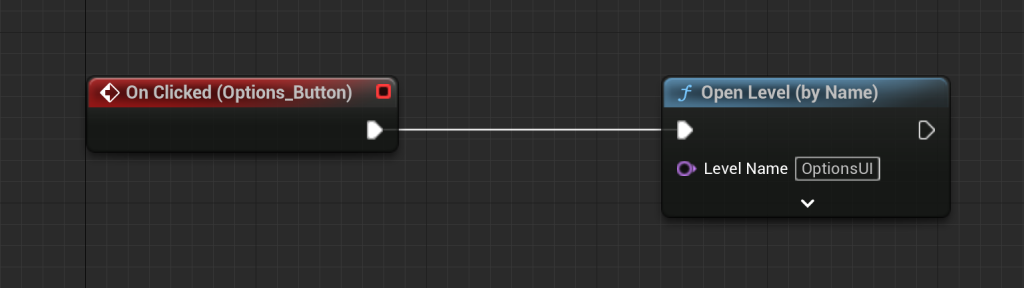
I went to the main menu UI editor to add an event for the options button.

I then went to the options UI widget blueprint to add an event for its back button.
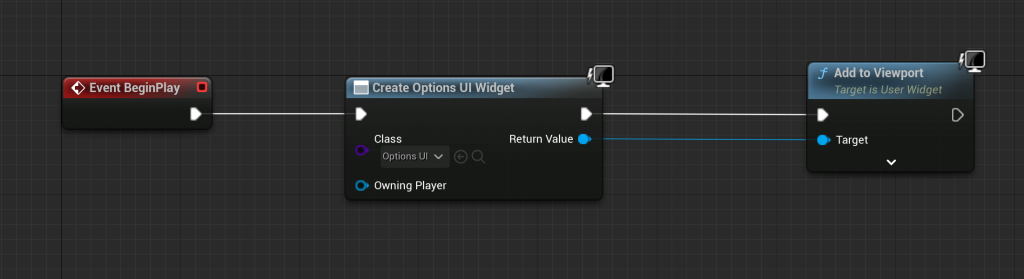
I then added a level blueprint event for the options UI to work well.
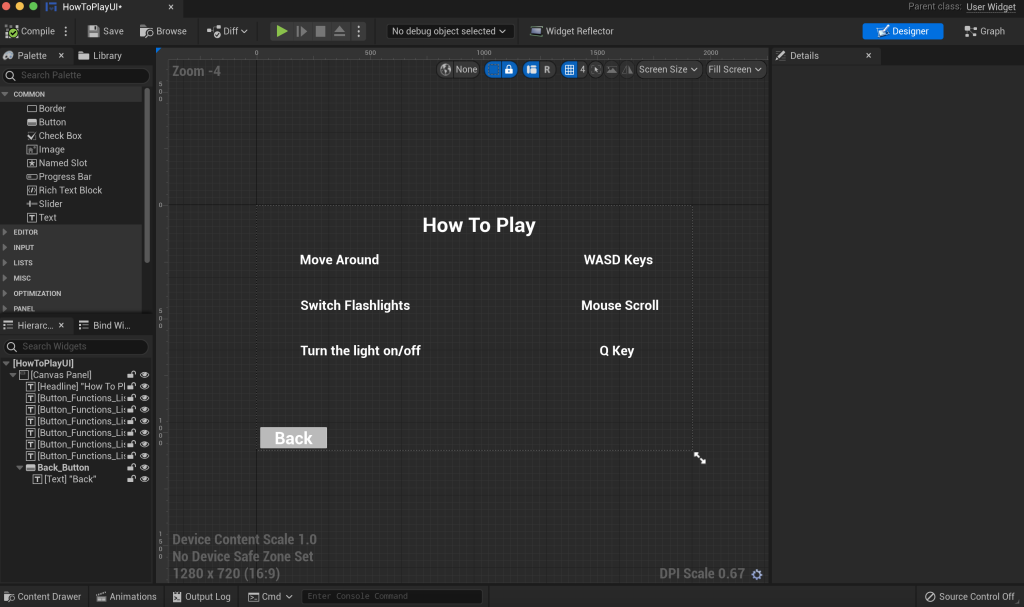
I created a How To Play blueprint and added fonts, writing what buttons and keys to use for whatever action.
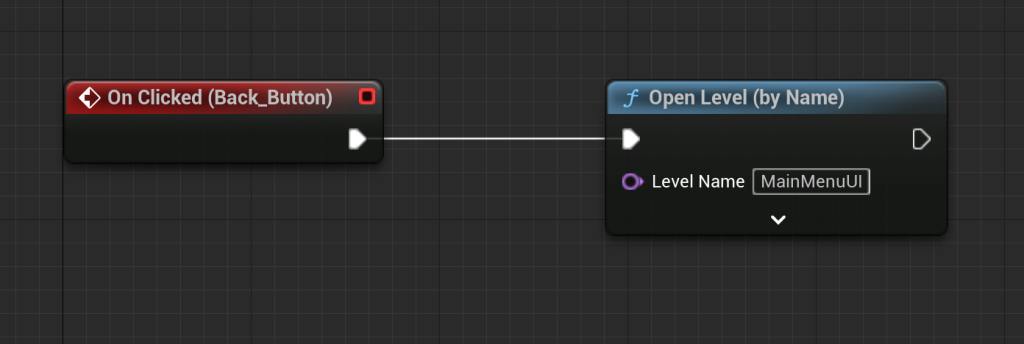
Then, I added an event for the back button of the How To Play UI, ensuring players can click the button to go back to the menu from How To Play.
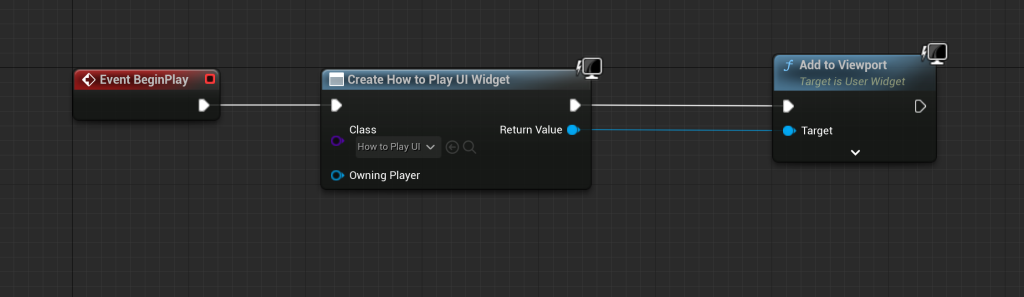
Afterwards, I added a level blueprint event for the How To Play UI to work well.
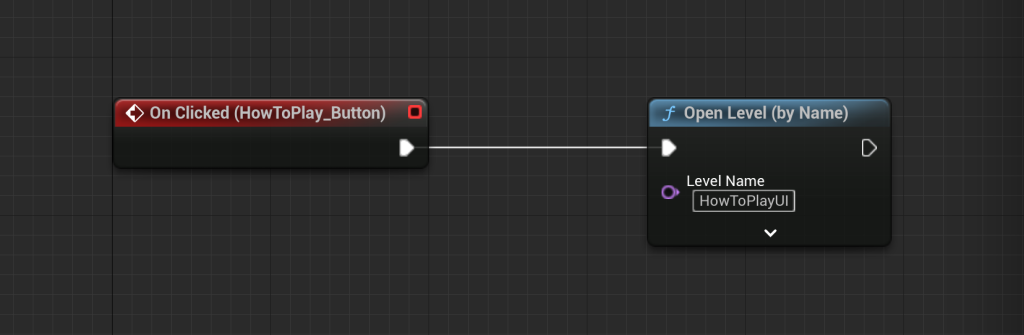
I then went back into the Main Menu UI widget to add an event for the How To Play button.
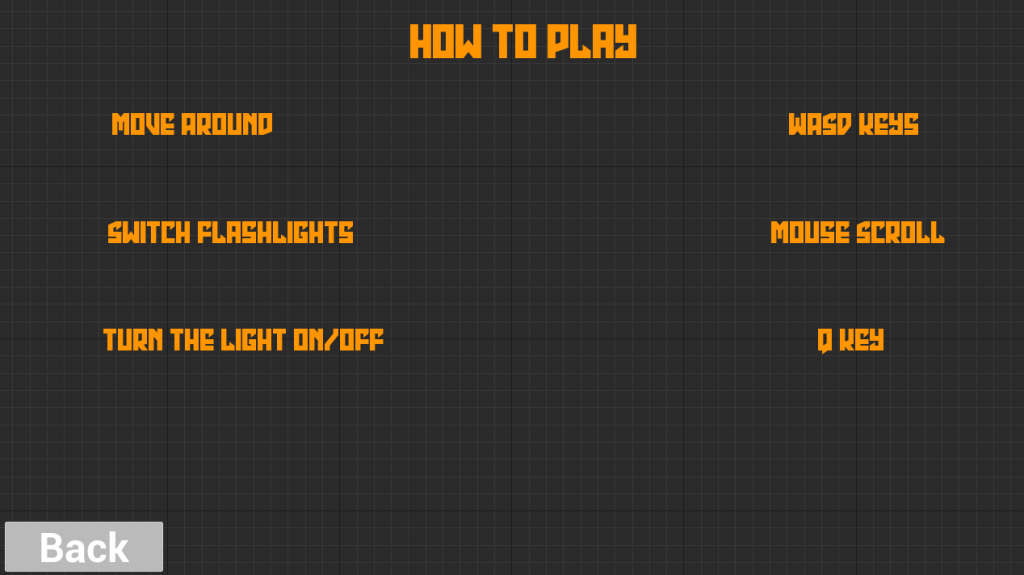
I then went on the How To Play widget to change the font and colour of every text in the widget except the text used as a button.
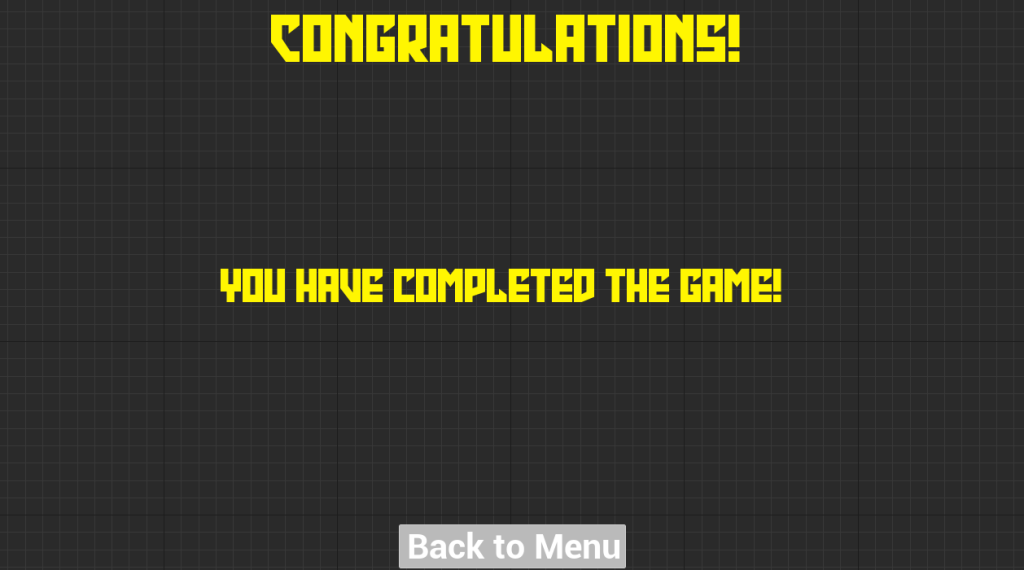
I then went on the Congratulations widget and repeated the same technique as I have done for the How To Play widget.
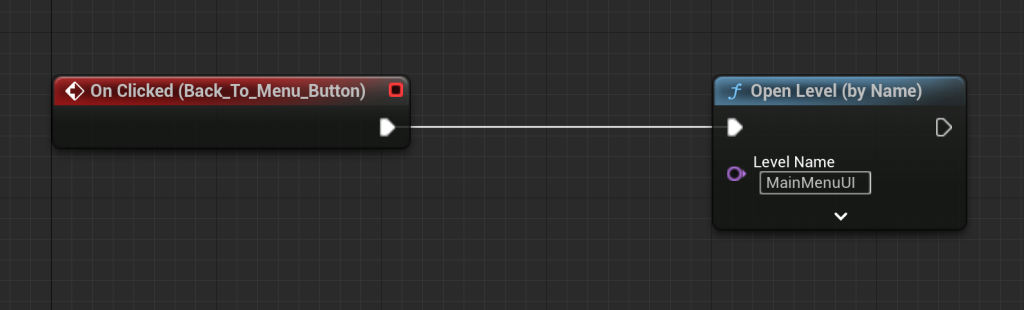
Afterwards, I added an event for the Back To Menu button, ensuring the button works that would take players back to the menu of our game.
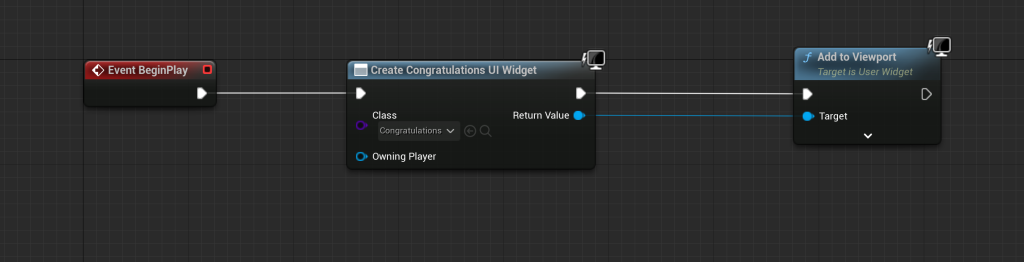
I then added a level blueprint event for the Congratulations UI widget to work well.

I then decided to make a PauseMenu UI Unreal Project where I added a Pause Menu widget as part of my contribution to my Major Project group.
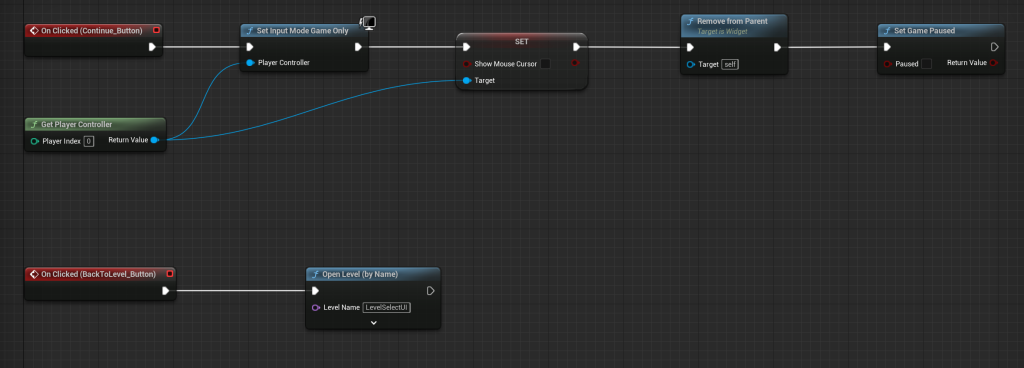
I added events for Continue and Back buttons of the Pause Menu UI, repeating the blueprint event process how I have done for a Pause Menu UI I added for my Collaborative Game Project.


I then added a blueprint event via the first person character blueprint, repeating the process of how I added one for my Collaborative Game Project.

To ensure the Pause Menu works by pausing our game, I went to Project Settings, Input and Action Mappings where I added an input for Pause and then added a button for the Pause input.

Then, I headed to Editor Preferences and searched play world to find the word ‘Stop’ where I would change its button function from Cmd+E to the button I added for the Pause input.
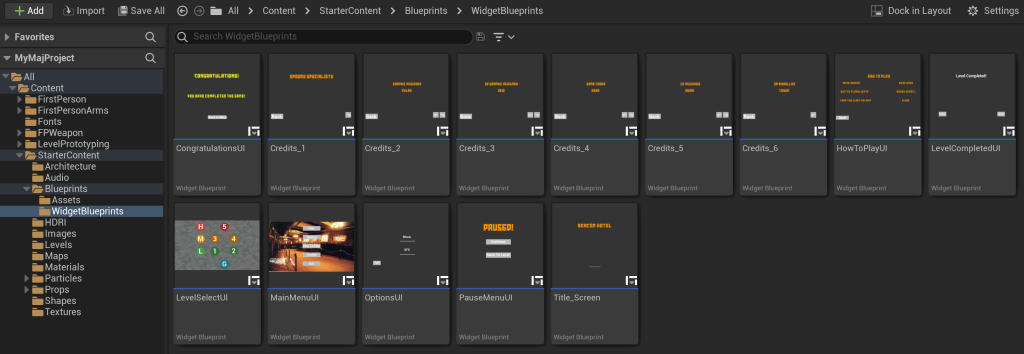
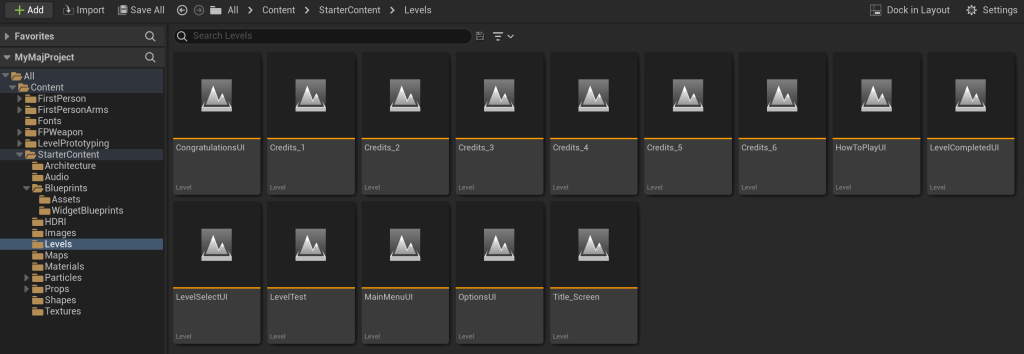

After completing every project, I created a new Unreal project called ‘MyMajProject’ where I would copy and paste all my used stuff from their previous projects to my new project to ensure my new Unreal project is made as my real Unreal UI projects.
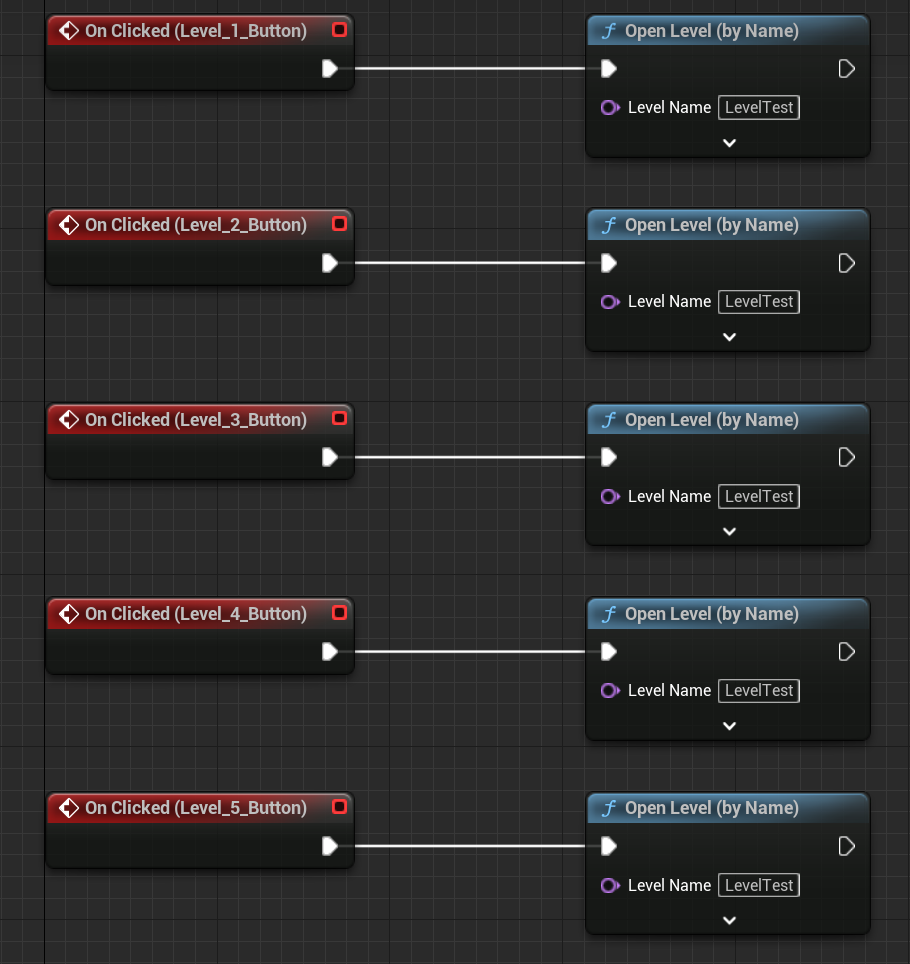
I then went back into the LevelSelectUI widget to add events for all level buttons that would take me to the LevelTest to show my contribution to my Major Project group.

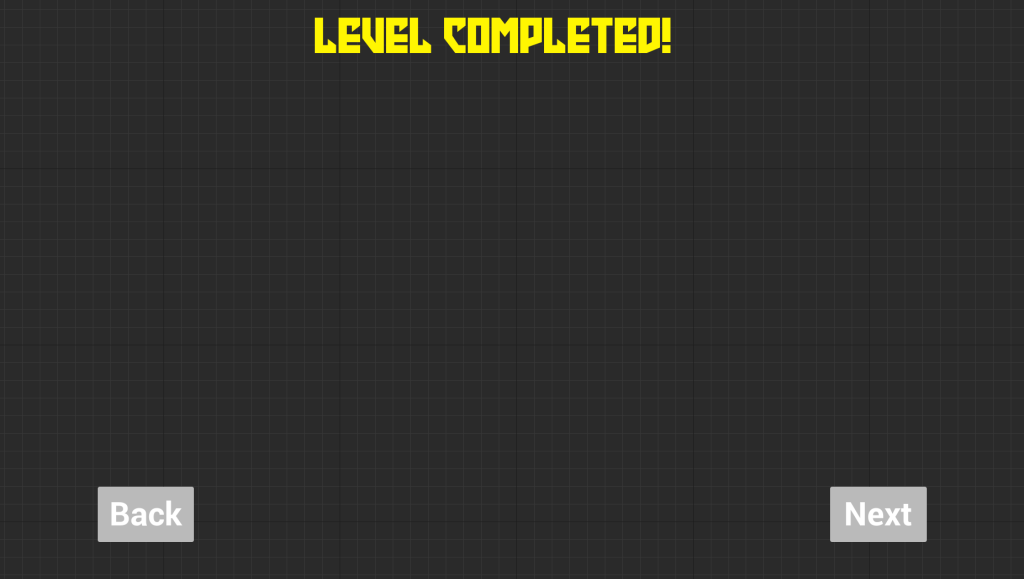
I updated text fonts from my How To Play and Level Completed widgets, giving the How To Play text fonts orange and the Level Completed text font yellow.
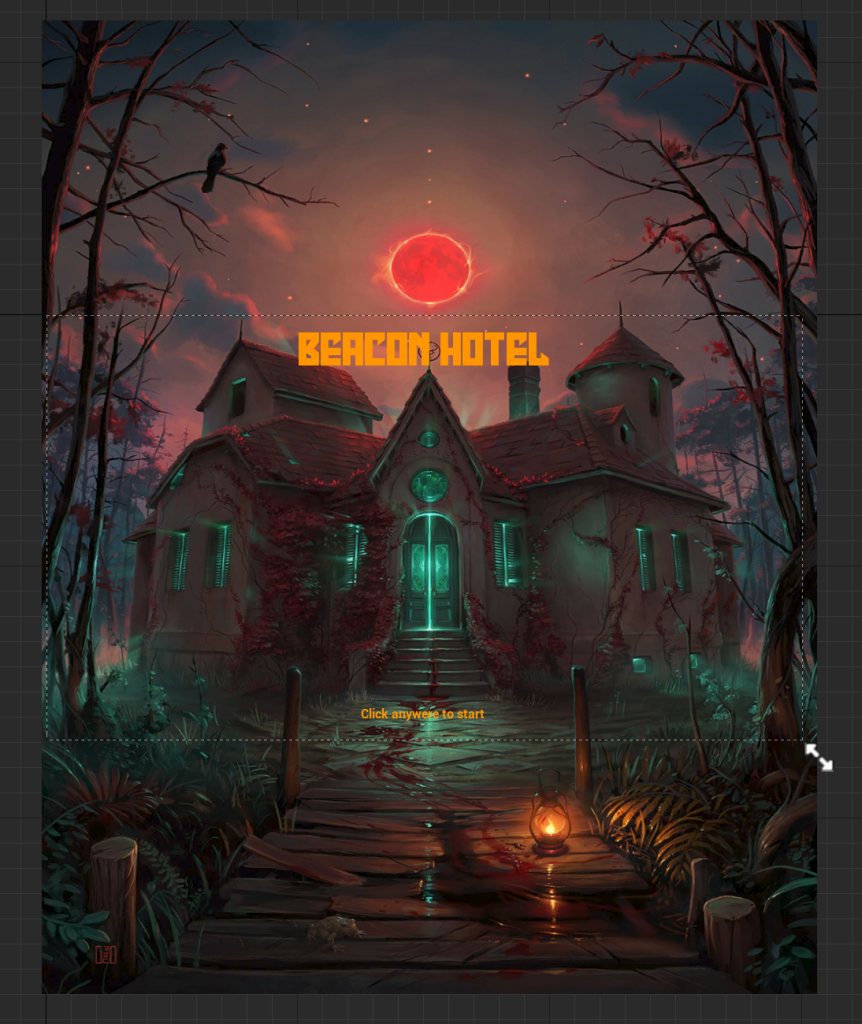
I then found an image of a building that looks reminiscent of a haunted hotel from ArtStation via Google Chrome where I added it to my Title Screen widget and adjusted the image to a size that I felt was right to adjust as the Title Screen background.


Afterwards, I added the haunted hotel image to my used image folder and I have finished all my tasks on time and added extras, as seen below.
Extra Projects
I have added extra stuff that can be explained in my reflection video since they were not included in my production schedule:
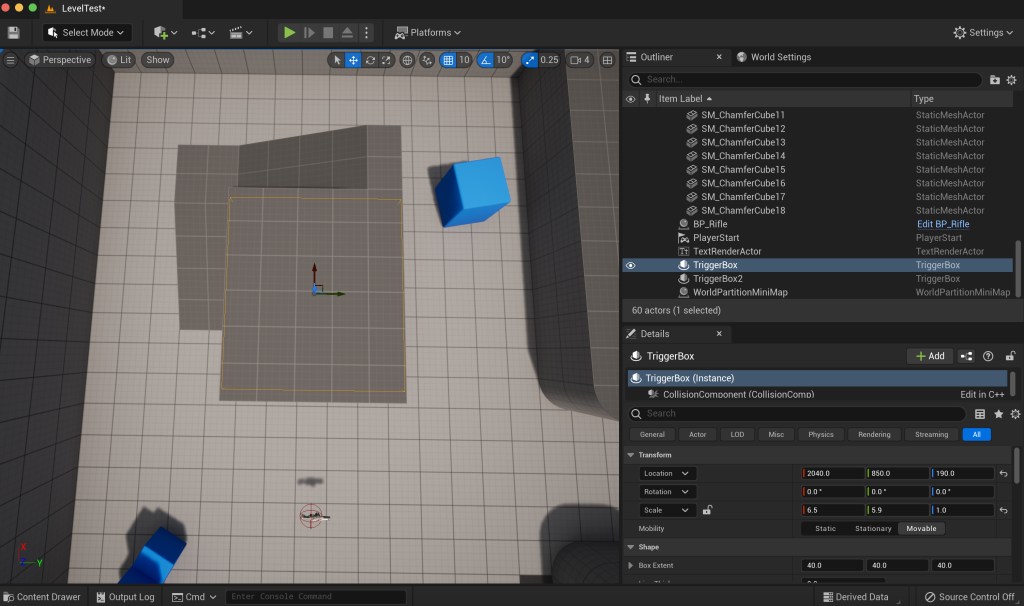
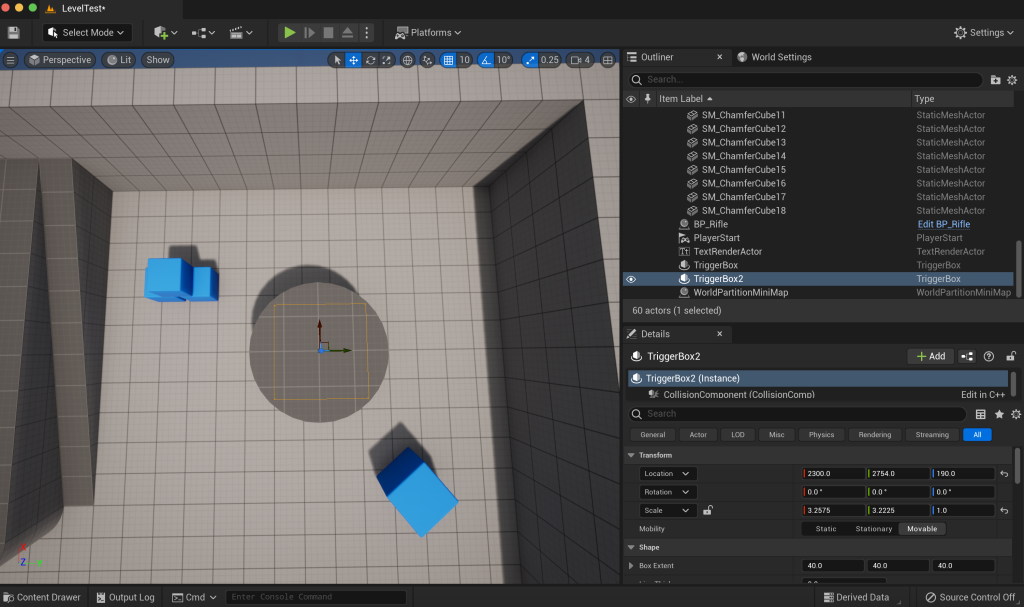
I added trigger boxes where one is used for the level completed destination and the other that I located by the circle is used for the congratulations UI that is triggered when players get to the circle as a test.
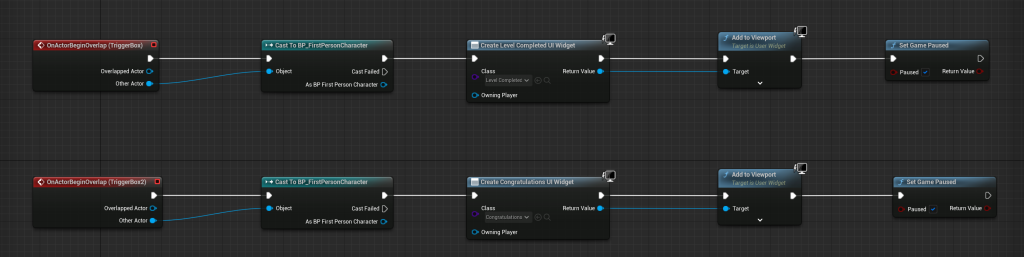
I then added level blueprint events for the trigger boxes in the test level, ensuring the level pauses at the same time the level completed and/or congratulations UI pop up.
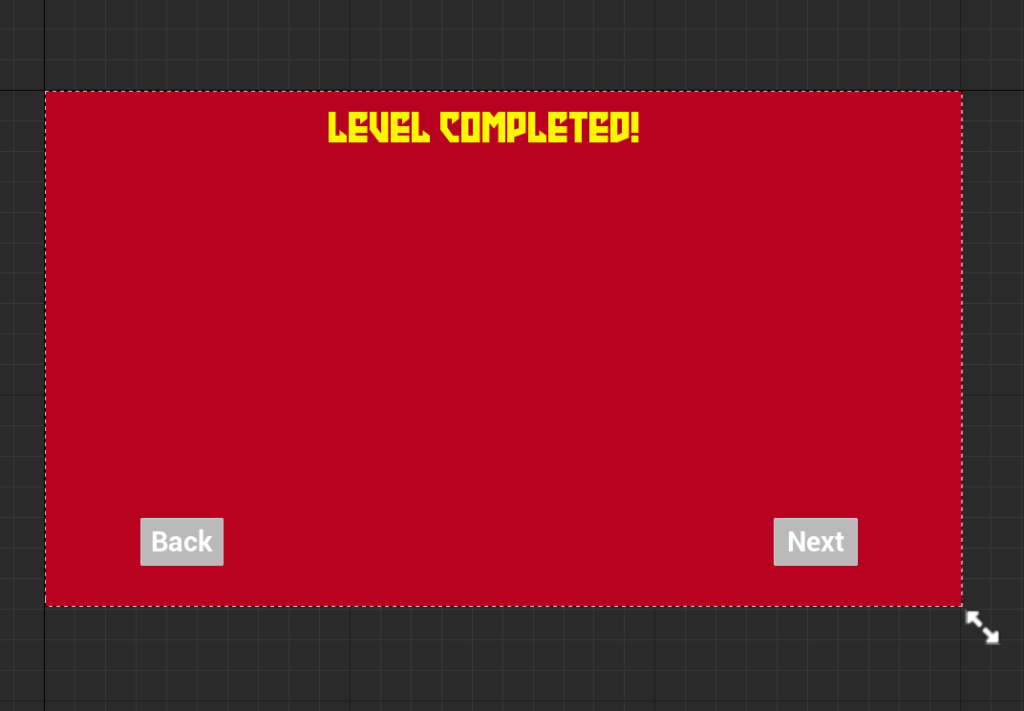
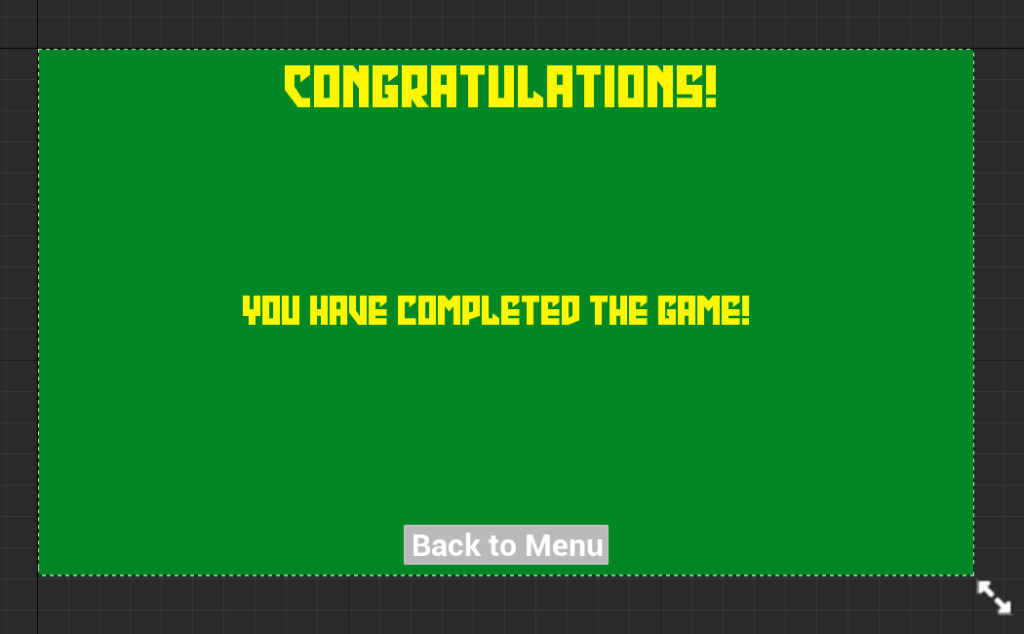
I then added a background image for both the Level Completed and Congratulations UIs where I added a red background image for the Level Completed UI and a green background image for the Congratulations UI.

Finally, I went back into the Level Completed UI to add a blueprint event for the next button, taking players to the next level. Once I was happy with everything, I gave my UI projects a test, seeing that everything has gone well and to show how much I have contributed to my Major Project group.
Reflection and Evaluation
Firstly, I have added UI Blueprints in Unreal, which seemed easy to do, which I enjoyed. The good thing about the experience is that I had confidence in adding blueprints and I felt I found it easy.
Another thing to take into consideration is making a transparent button function for the Title Screen UI, in which it was a difficult experience to handle in which I was stressed about until one of my colleagues helped me to find ways to make the transparent button work. The only bad thing about the experience is that I got muddled up on what section for the transparent button in Title Screen UI Blueprint to change the value of something to. What I should have done is look over to the background colour section for the transparent button to change the value of the alpha there to make the transparent button disappear to show that we all can click anywhere on the title screen of my project.
Adding images as buttons was an interesting challenge which made me confident, simply by finding the image section under the appearance section whilst having a button clicked. The pros of the experience is that I knew where I can change buttons into images.
Adding downloaded images as background images of any blueprint was another interesting challenge that was good and made me confident. Pros of it was that I added images where I downloaded images from the internet that are referenced and that I used for Title Screen and Main Menu blueprints.
Downloading text fonts for my project was a great challenge which made me feel happy doing it. I had to download a font from dafont and followed a tutorial on how to add it to Unreal which was good and the tutorial I watched for it is referenced.
Adding blueprint and level blueprint events was a challenging experience in which some made me feel stressed but some others made me happy. I had to add plenty for things such as trigger boxes and buttons that takes players from one level to another, thanks to tutorials I watched that are referenced, whilst I saw the techniques I have used for blueprints I learnt from last year.
Finally, making a pause menu with a button pressed to pause the game was an interesting experience where I conceived techniques I have used from when I was in a Collaborative Project group where I was given the UI design role having to make menus and the pause menu for my previous UI projects. It was a great experience and it made me thrilled to go back to images that show the techniques I remember.
Conclusion
Overall, I have enjoyed communicating and collaborating with peers about whatever game we put out on our group presentation to vote, how we all made our chosen game and what role we took in order to improve my communication skills. It also helped me to check on my groups via our discord group chat to see how they all did weekly.
References
Images:
Space Mountain Mike (2011) Haunted Mansion Hall Of Portraits Right [Photograph]. Available online: https://en.wikipedia.org/wiki/File:Haunted_Mansion_Hall_Of_Portraits_Right.jpg [Accessed 30/5/2024].
Flavio Greco Paglia (2016) Poster Art – BARS Film Festival 18 [Photograph]. Available online: https://www.artstation.com/artwork/m9dgZ [Accessed 30/5/2024].
Emoji One contributors (2020) Eo circle red blank [Photograph]. Available online: https://commons.wikimedia.org/wiki/File:Eo_circle_red_blank.svg [Accessed 30/5/2024].
Emoji One contributors (2020) Eo circle green blank [Photograph]. Available online: https://commons.wikimedia.org/wiki/File:Eo_circle_green_blank.svg [Accessed 30/5/2024].
Emoji One contributors (2020) Eo circle orange blank [Photograph]. Available online: https://commons.wikimedia.org/wiki/File:Eo_circle_orange_blank.svg#mw-jump-to-license [Accessed 30/5/2024].
Emoji One contributors (2020) Eo circle cyan blank [Photograph]. Available online: https://commons.wikimedia.org/wiki/File:Eo_circle_cyan_blank.svg#mw-jump-to-license [Accessed 30/5/2024].
Text Fonts:
Iconian Fonts (2022) Emerald Beacon. Available online: https://www.dafont.com/emerald-beacon.font [Accessed 30/5/2024].
Videos:
Royal Skies (2023) Unreal-5: UI-Menu QUIT-Button Blueprints (30 SECONDS!!) [Video]. Available online: https://www.youtube.com/watch?v=rvx3THtH3lc [Accessed 30/5/2024].
Matt Aspland (2022) How To Use Custom Fonts In Unreal Engine 5 (Tutorial) [Video]. Available online: https://www.youtube.com/watch?v=dP1ouCCS758 [Accessed 30/5/2024].
Buvesa Game Development (2022) How To Create A Pause Menu – Unreal Engine 5 Tutorial [Video]. Available online: https://www.youtube.com/watch?v=voIMzFOQEOs [Accessed 30/5/2024].
Matt Aspland (2020) How To Create A Main Menu – Unreal Engine 4 Tutorial [Video]. Available online: https://www.youtube.com/watch?v=K1vVbwMJCTQ [Accessed 30/5/2024].
Unreal ART with Alireza (2023) Make An Easy WIN and LOSE System For Your Games In Unreal Engine 5 Using Blueprints [Video]. Available online: https://www.youtube.com/watch?v=LrExuqVQDb4 [Accessed 30/5/2024].
Our Discord Group Channel:
MBH2001, LT Dark Ring, Xenoraz, MurieFury13, Klay. (2023) Direct Messages [Major Project]. Available online: https://discord.com/channels/@me/1158732619836567573 [Accessed 30/5/2024].
My Trello Project for our chosen game:
Trello (2023) Production Schedule Project. Available online: https://trello.com/b/2rXJ9aT3/production-timeline [Accessed 30/5/2024].
Leave a Reply