Introduction
In Week 1, I have made some VR projects on Maya where I explored tools in Maya to show how I made these for the first two workshops and what VR looks like created from Maya to any social media platform.
Workshop 1
For the first workshop I made a 10 second 360 VR project on Maya where I made a cube move left and right for viewers to see whilst they turn around using VR mode on YouTube.
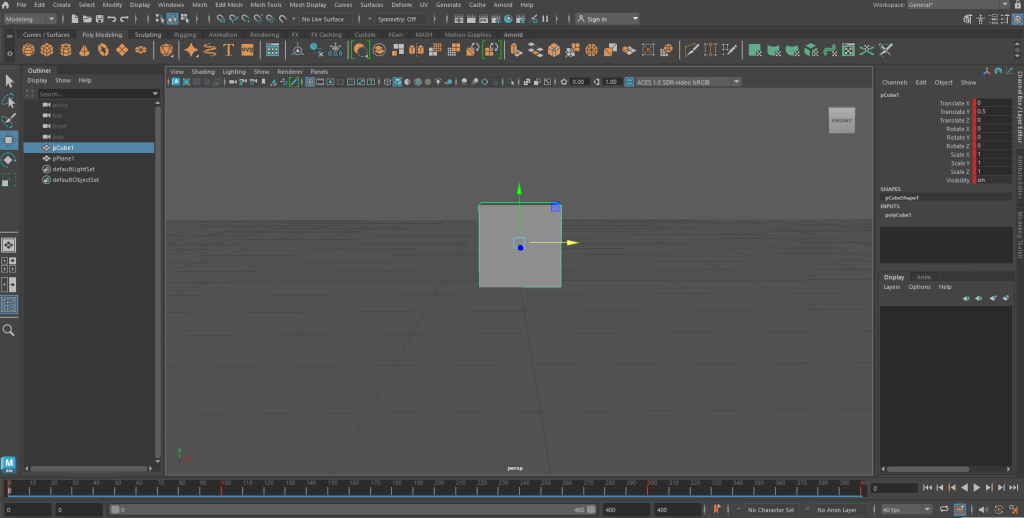
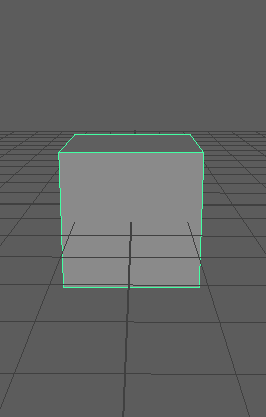
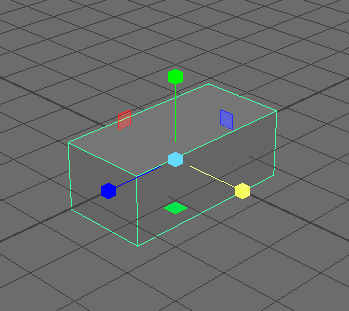
First I added a cube via Poly Modeling and used the scale pivot to scale it to a size where it is big enough to be seen by viewers who would see it in an actual VR project.
I then added timeframe keys where I first ensured the fps speed is 40 to make 400 frames in 10 seconds before clicking on the timeline at the beginning and then pressing S to add a key for the cube’s starting location. Then I moved the cube to the left hold clicking the x axis on the move pivot before clicking on the timeline to drag the timeframe slider to frame 100 and pressing S for another key for the cube’s moving left location.

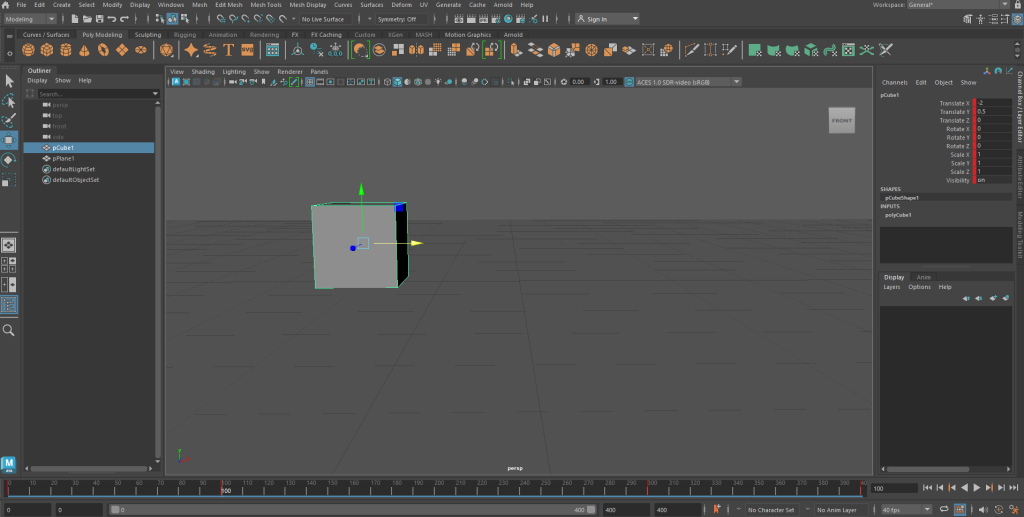
Afterwards, I moved the cube all the way to the right using the x axis on the move pivot before repeating the same process with the timeline but dragging the timeframe slider to 300 where I pressed S there to make another timeframe key for the cube moving right.

I then used the x axis on the move pivot to move the cube right back to where it started before going back on the timeline to drag the timeframe slider to frame 400 and pressing S for another key frame to make my 10 second animation. It took 4 timeframe keys to make so I tested out the animation and the cube moved left and right.
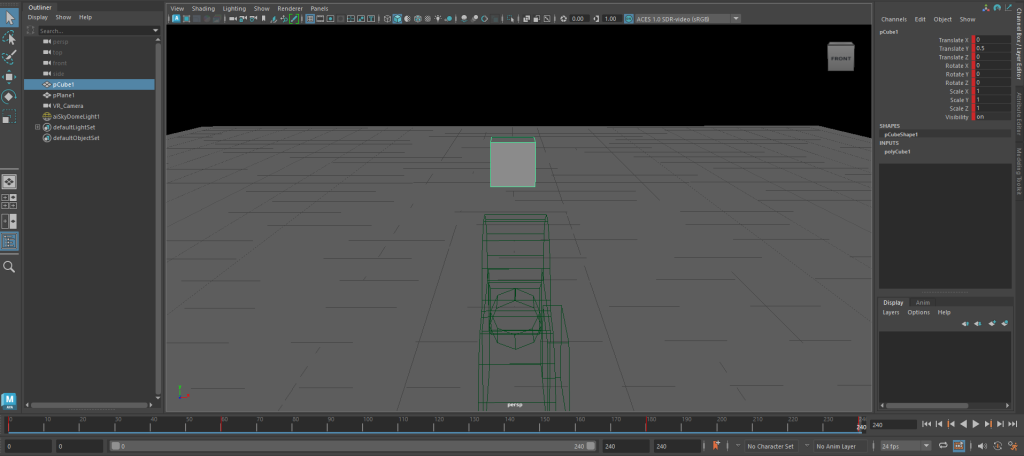
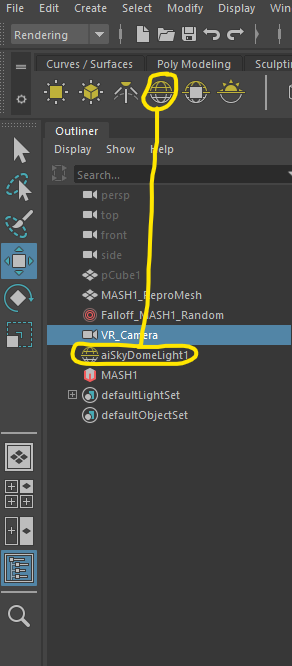
I changed the fps length to 240fps and added a VR camera where I had the camera pointing at the cube as if the cube is the main thing people would look at first for this VR project.
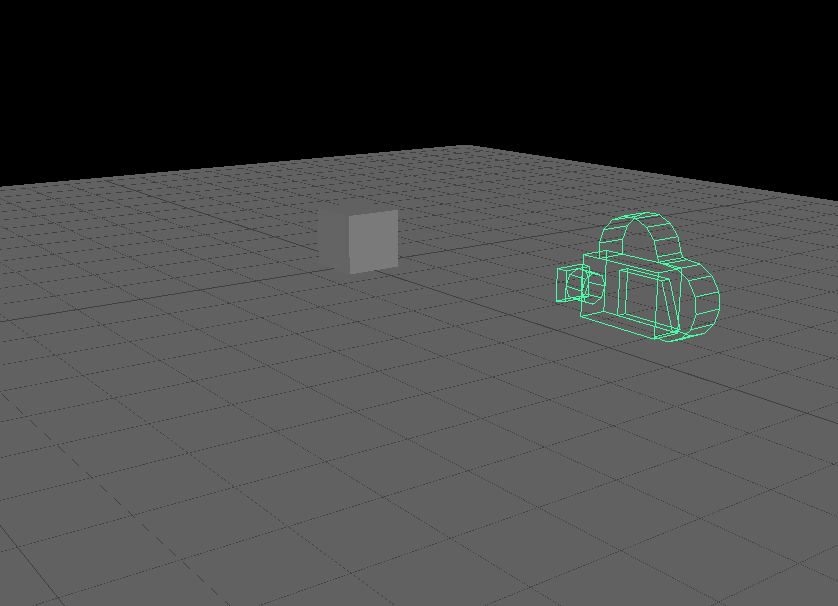
I then moved the camera closer to the cube using the z axis on the move pivot so people will see the cube clearer in this VR project.
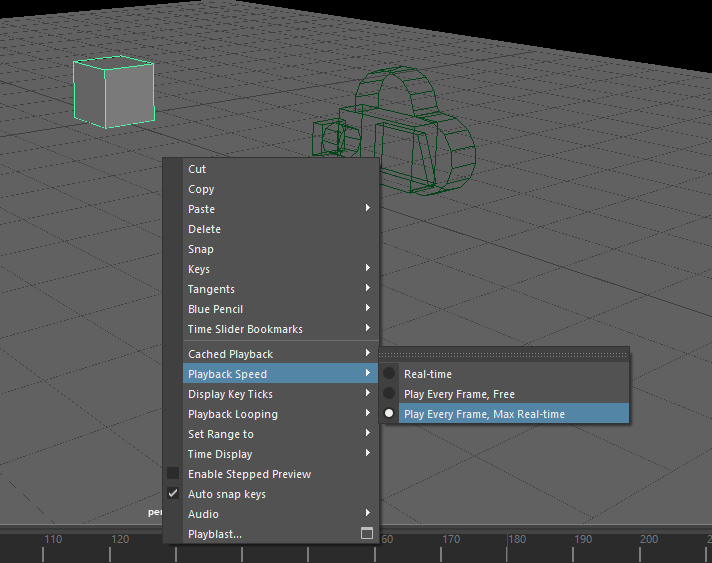
I went on Playback Speed and clicked Play Every Frame, Max Real-time to set the speed of my moving cube on my VR project to the maximum frame rate of 24 fps.
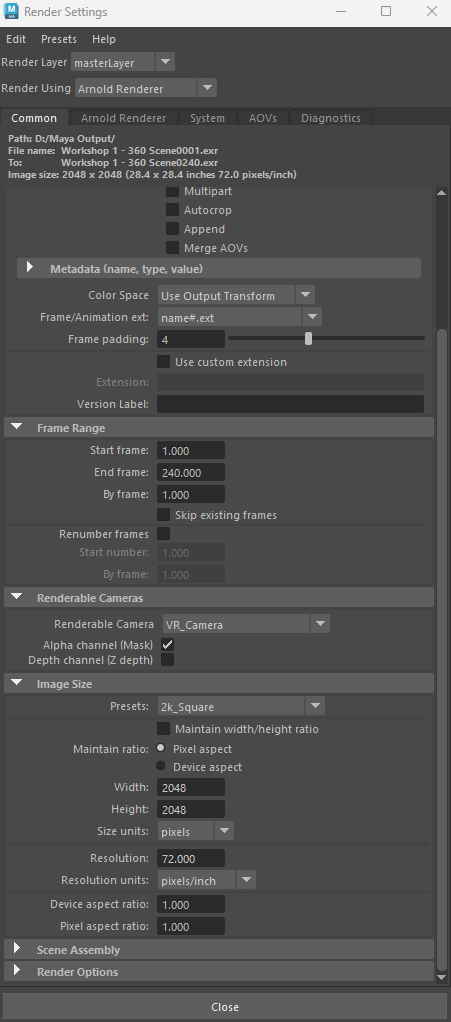
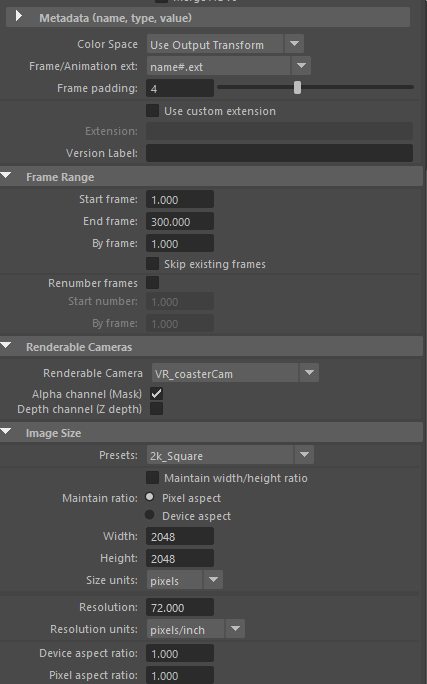
I went on Render Settings, checking that the Render Layer is set to masterLayer, the render is using Arnold Renderer, the Frame/Animation ext is set to name#.ext, the end frame is set to 240 as my moving cube project has 240 frames in 10 seconds, the renderable camera is the VR Camera I brought in for the project and the Preset is set to 2K_Square.

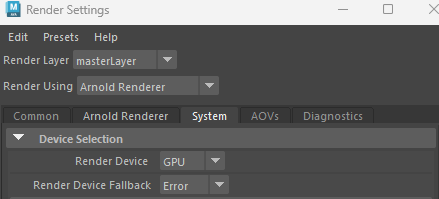
I went on the system section in Render Settings to ensure the render device is set to GPU as it is recommended for Arnold Renderer.

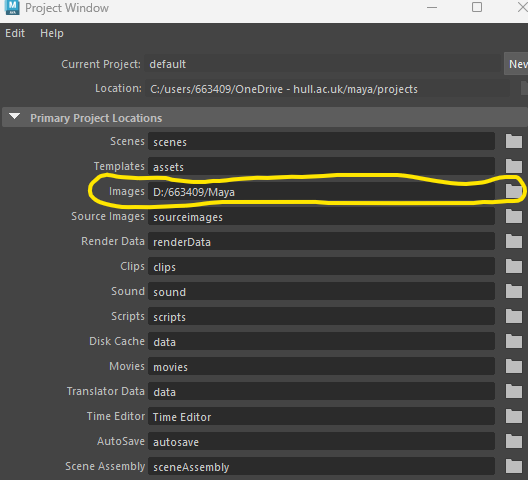
I then went on Project Window where I ensured the location for all my frames (images) are rendered in a D drive on a PC to save memory.

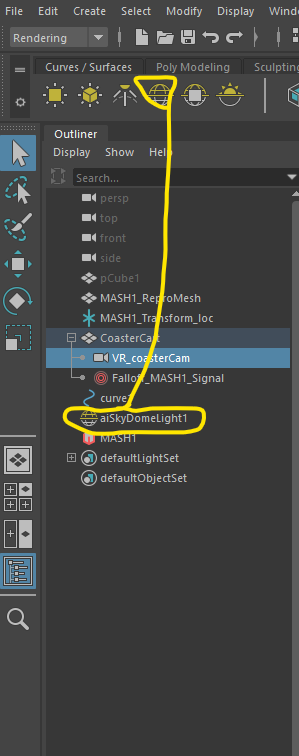
I went on Rendering Mode and clicked Rendering where I added a sky dome light to ensure I can see all my frames rendering good enough to make my project video on Premiere Pro.

I then went on Render Sequence via Rendering Mode as one more thing to ensure the Current Camera is set to VR_Camera and that my frames (images) are ready for use in Premiere Pro.
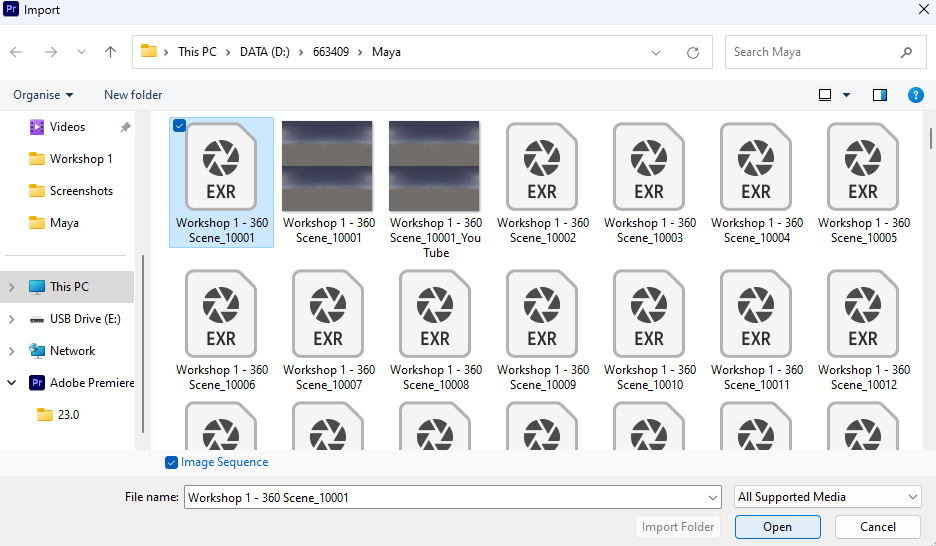
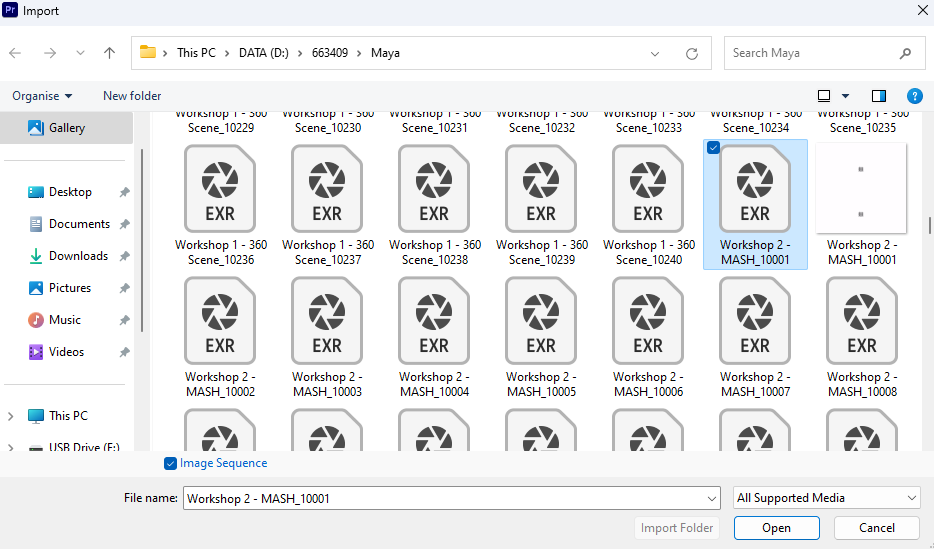
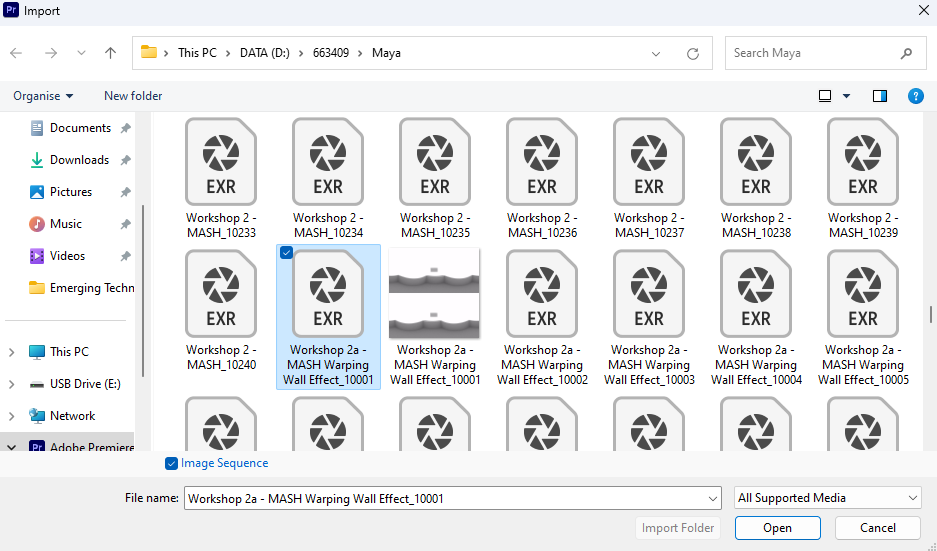
I went on Premiere Pro to make a new project where I selected the first ever frame and checked Image Sequence.
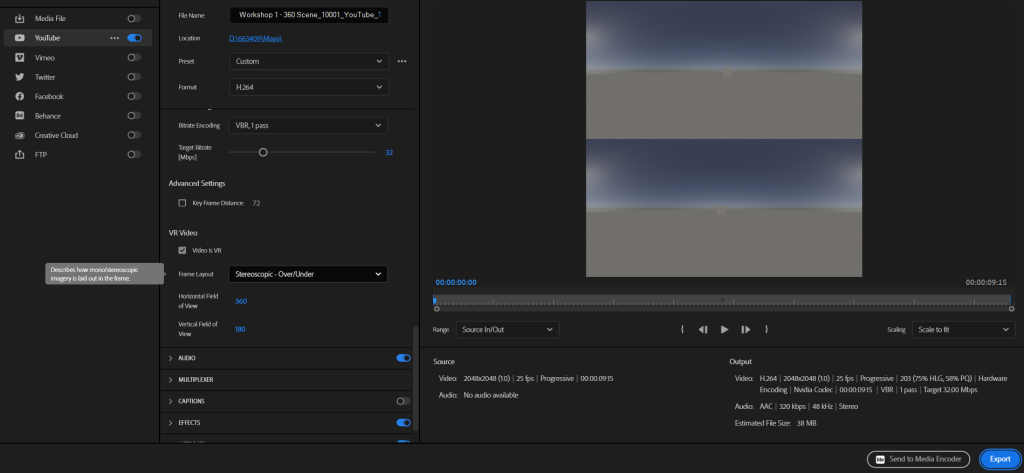
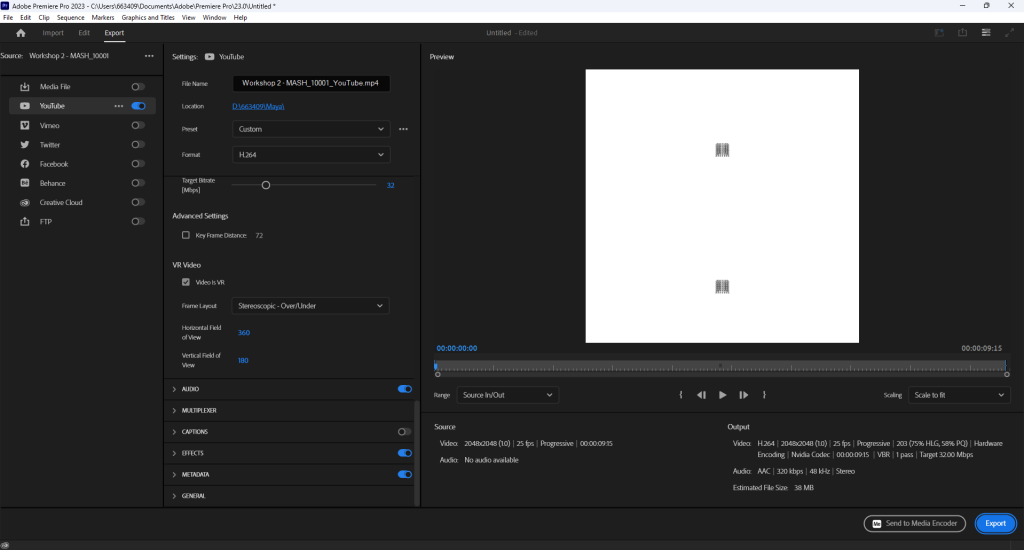
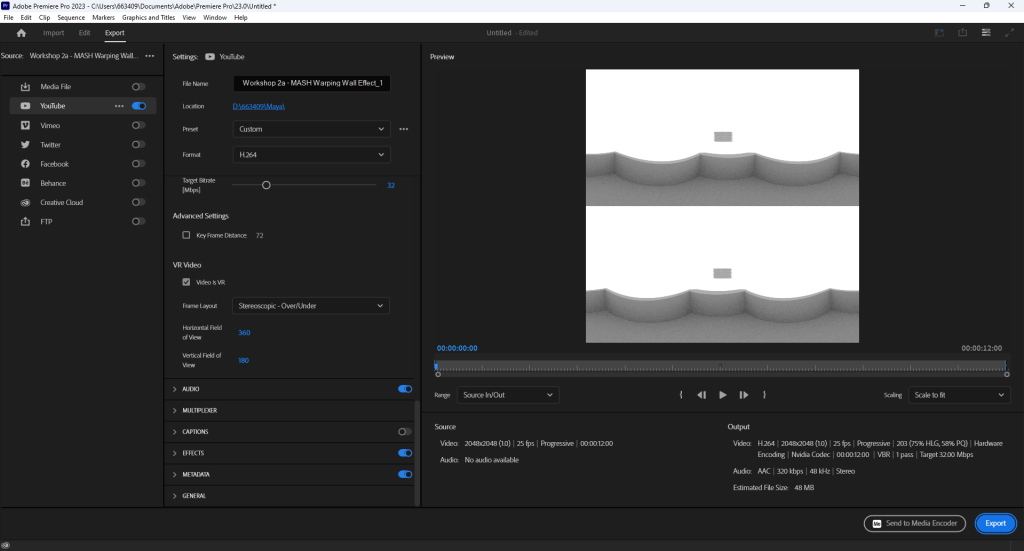
I then went on Export, Media to ensure I upload my project on YouTube. First I unchecked and then checked YouTube and then I went down to the video section where I ensured the video is VR and the frame layout is set to Stereoscopic – Over so the video can be published onto YouTube as an actual VR video.
Workshop 2
Introduction to MASH
Next, I have made another 10 second 360 VR project using MASH where I went through a tutorial for some support on the tools I used for the 360 VR MASH project.
First I brought in a cube and used the scale pivot for the object where I used it to make an interesting cube with MASH tools.
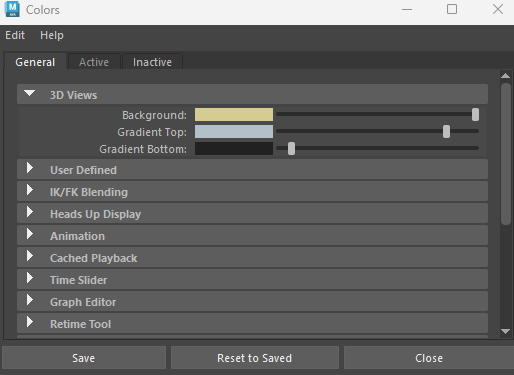
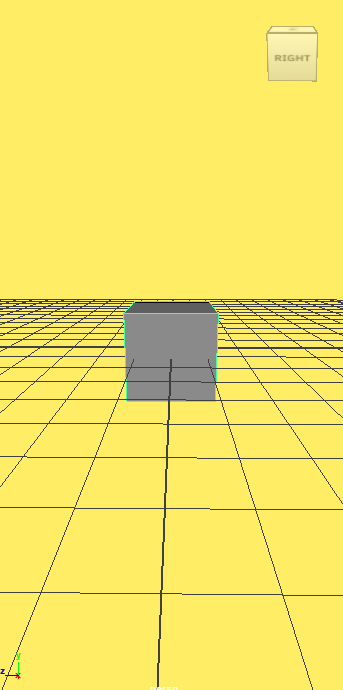
One thing I discovered is that I can change the background colour by visiting the colour settings via windows, settings/preferences. I clicked on the background colour itself and changed it to Yellow for a try.
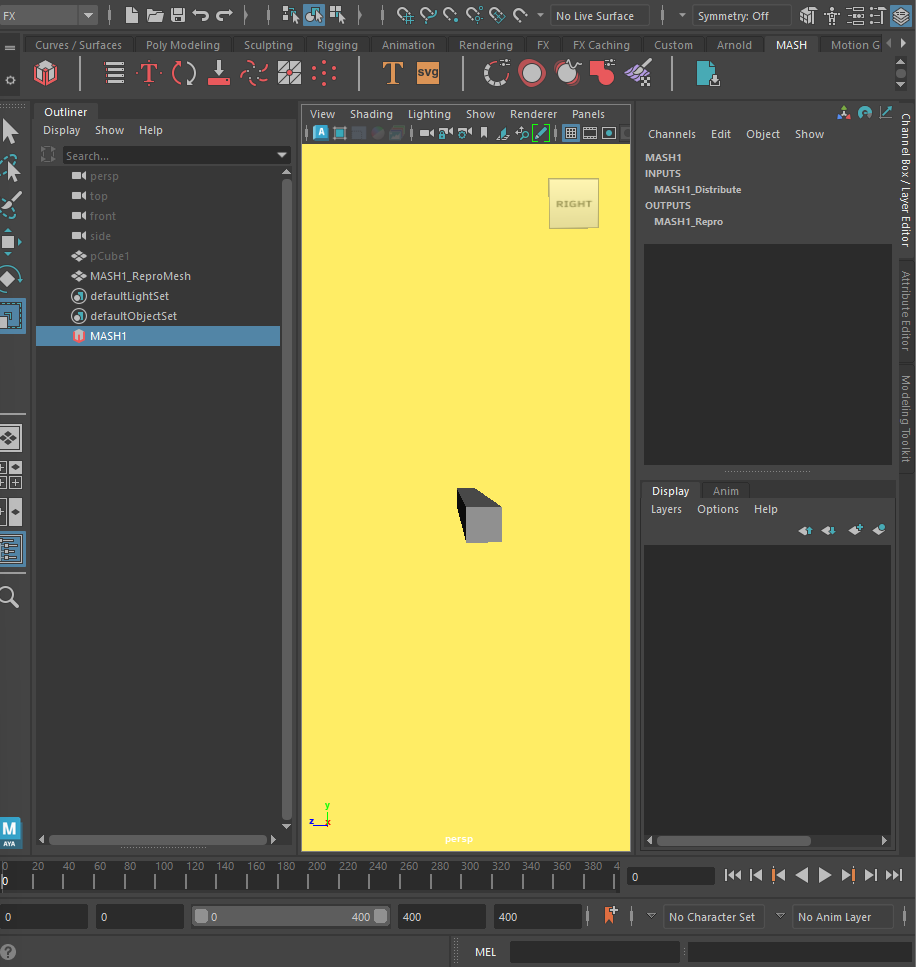
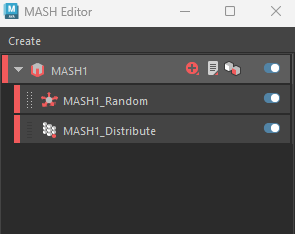
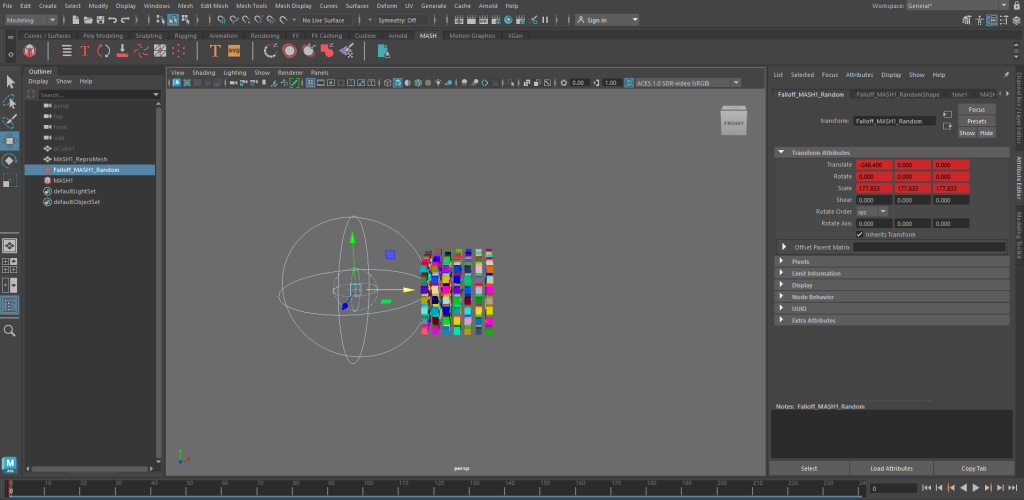
I then went on Display to turn off the grid and checked the Plug-in Manager to check that MASH is loaded and auto-loaded before I clicked on the MASH section after clicking on the cube to make a repro mash and to bring its network that displayed many MASH nodes I have used for this and the Rollercoaster Wall effect projects.
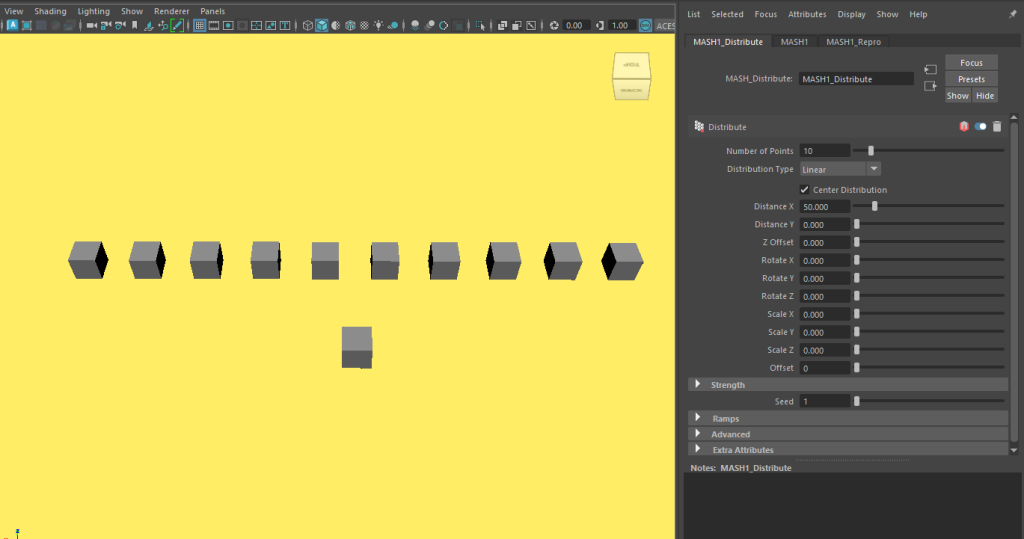
I then used a shortcut, Shift + H to unhide the cube and bring it next to the repro MASH that has been edited using the MASH Distribute to ensure it has the distribute node I used to change the X distance of the MASH cube. I also brought in the MASH editor to find out the distribute node is already included and set the distribution to the centre.
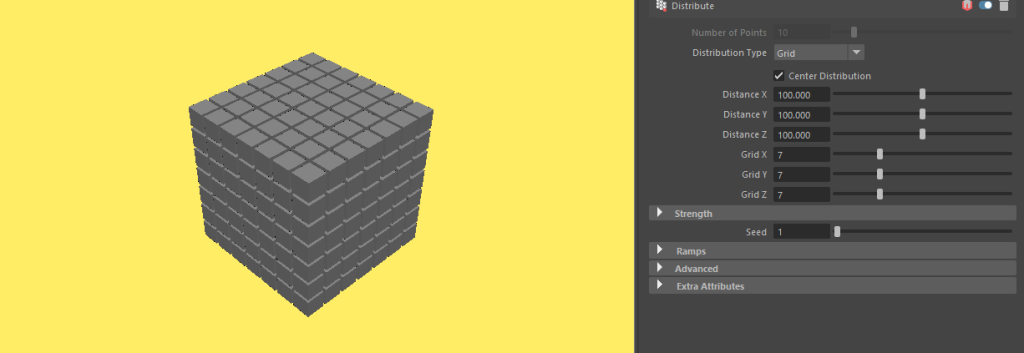
I then set the distribution type to Grid before setting the X, Y and Z Distance values to 100, and the X, Y and Z Grid values to 7 to ensure they are all equal for the repro MASH.
I added a MASH Random node and went back to MASH Editor to see the Random node added.
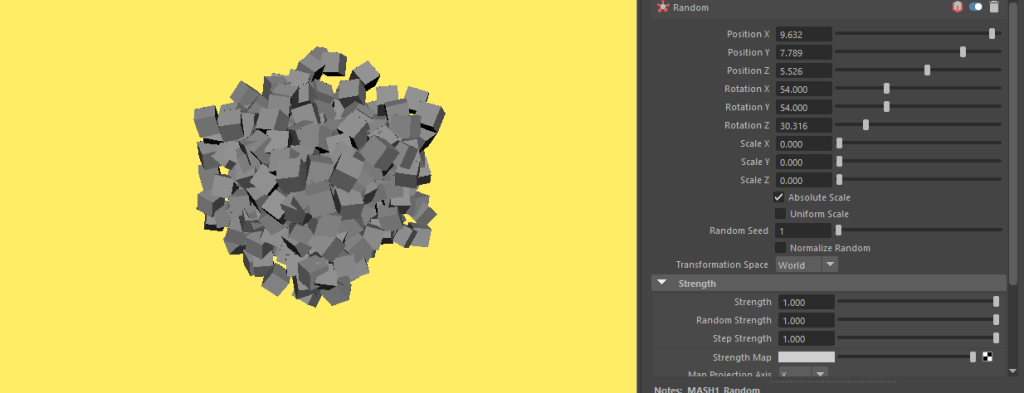
In the Random node, I had a play with sliders for Position and Rotation axis values to get the best result I want.
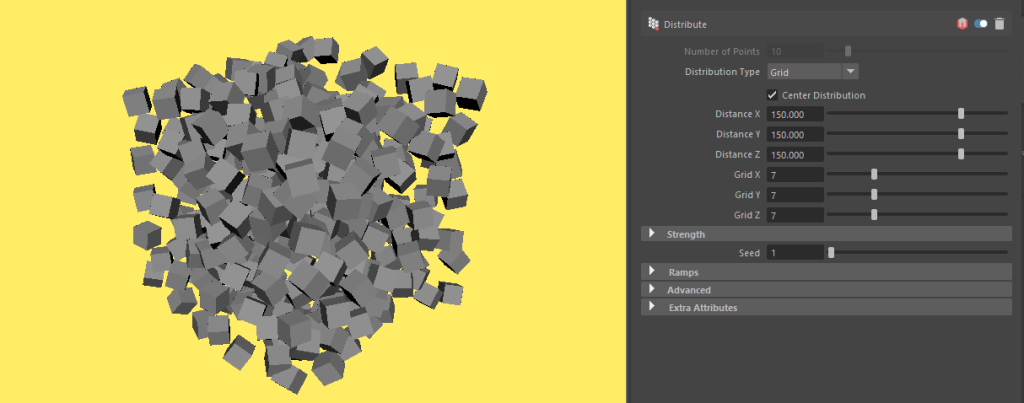
Back in the Distribute node, I increased the Distance axis values to 150 for an even better result.
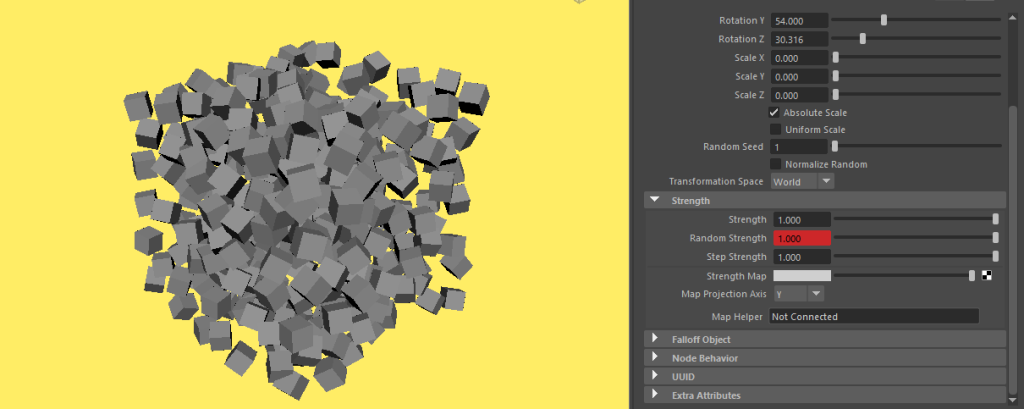
I went back on the Random node to set frame keys for the Random Strength of the repro MASH to test an animation out for it before deleting the frame keys as I did not need them for my MASH project.
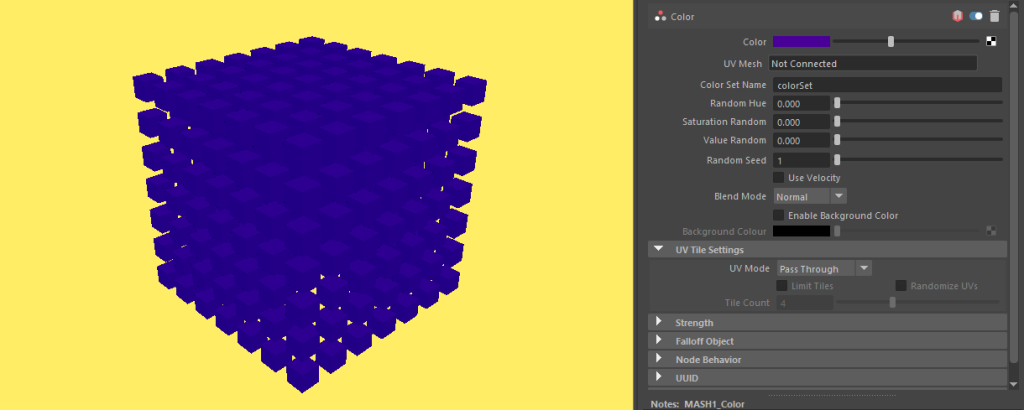
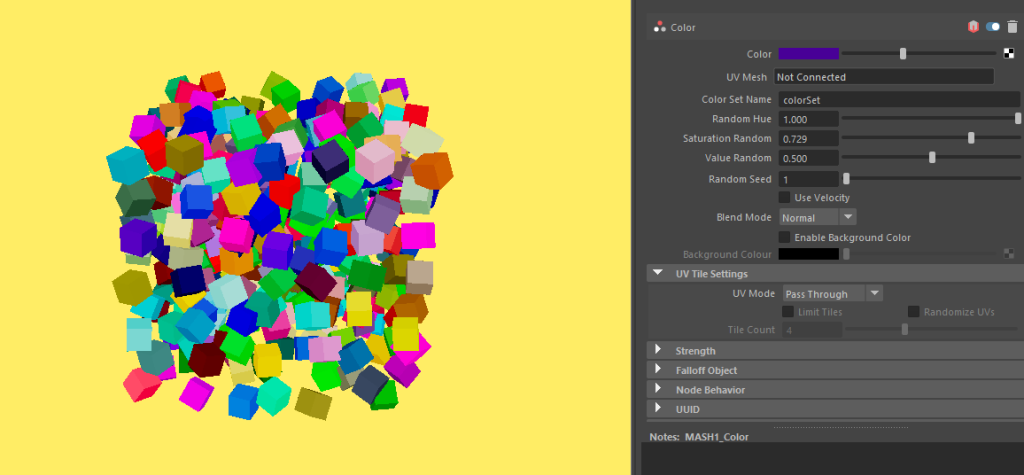
I then added a Colour node where I changed the colour of my repro MASH to purple before randomising the colour with Random Hue, Saturation Random and Value Random sliders.
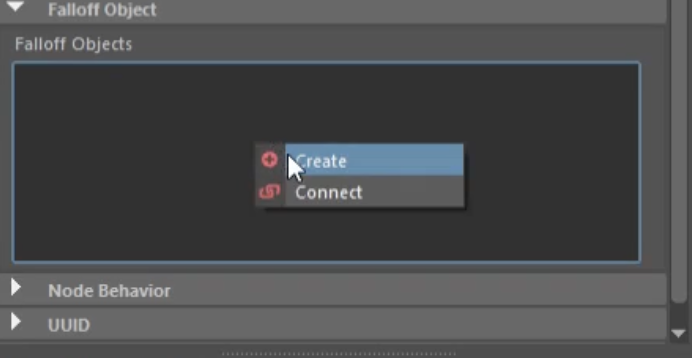
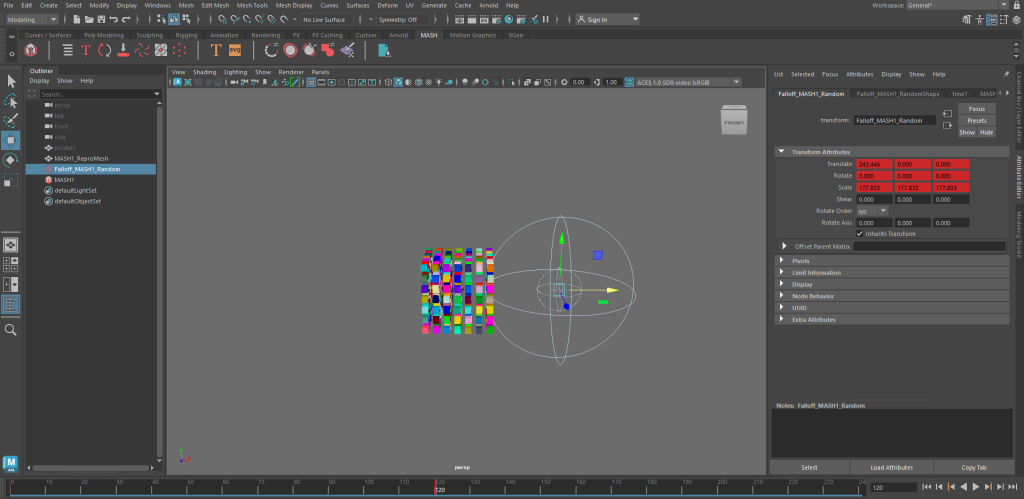
I then went back on the Random node to create a Falloff object via right click in the falloff object box and create to make a falloff MASH node that interacts with repro MASH objects.
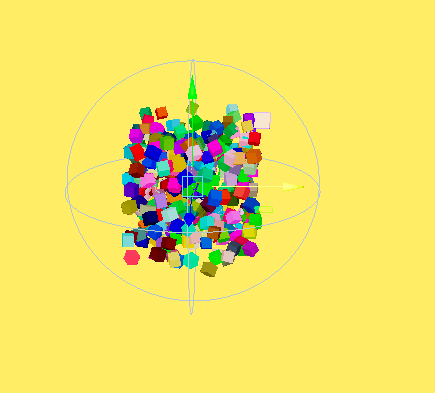
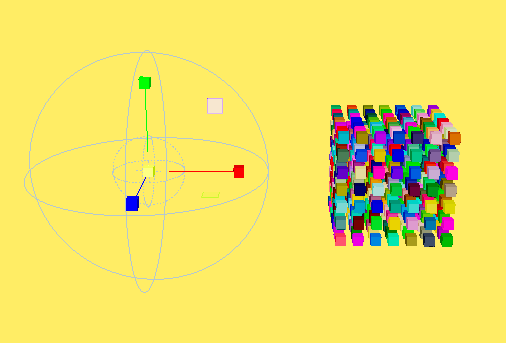
I then tested out the Falloff MASH node, making the repro MASH object go inside the node and it actually made the repro MASH interact well before going back on the Random node to increase the Position axis values much higher enough to get a better look, ensuring it is ready for my project to be made with timeframe keys.
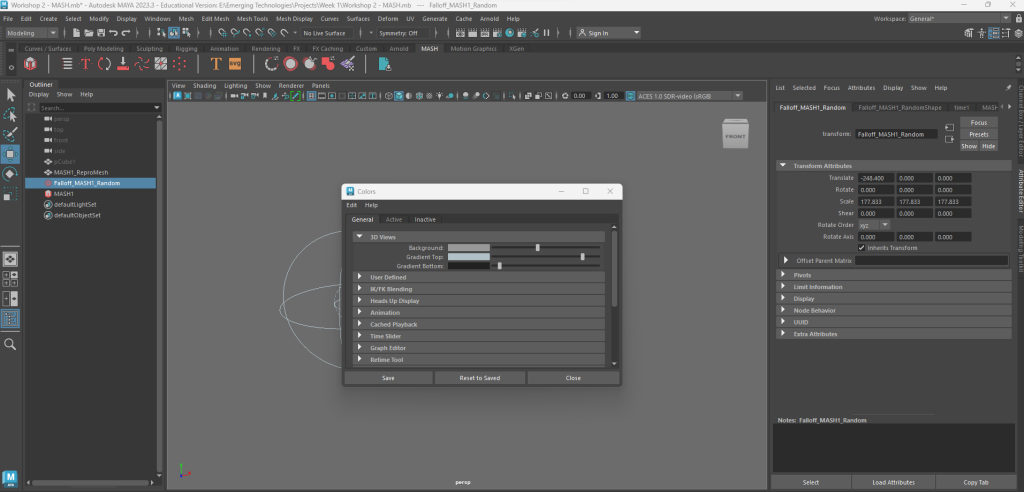
Before doing so, I went back on colour settings via windows, settings/preferences to change the background colour back to grey.
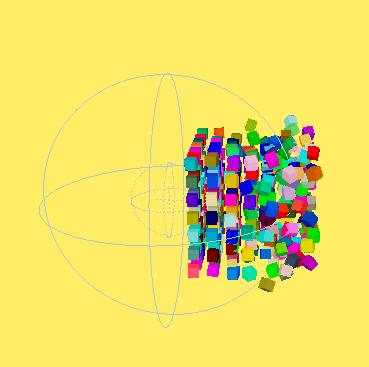
I made sure the total frames for my 10 second MASH project is 240 in 10 seconds, making the fps speed 24. Then I pressed S to add a timeframe key on frame 0 which is the first of the 240 frame timeline before using the x axis move pivot on the Falloff node to move it to the left of the repro MASH.
Then I added another timeframe key on frame 120 which is the middle of the timeline, pressing S before I used the X axis move pivot on the Falloff node to move it to the right of the repro MASH.
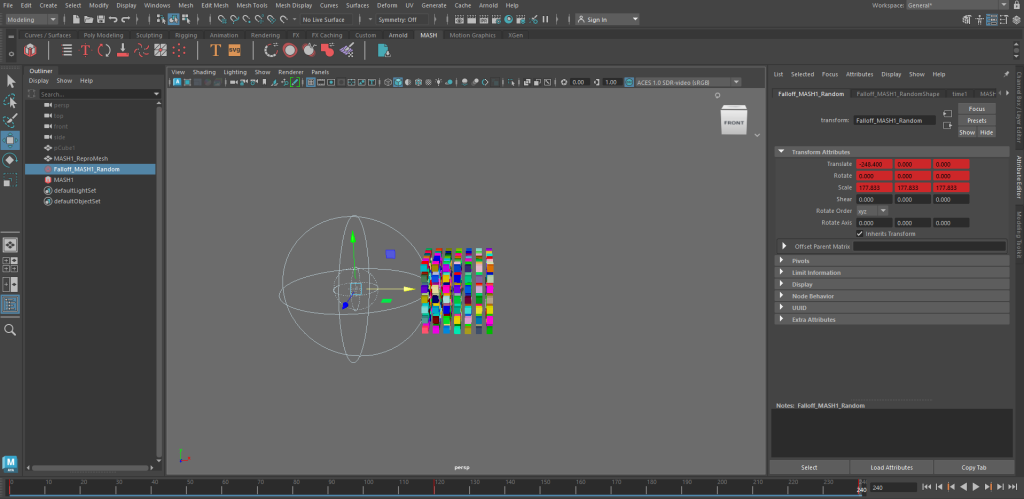
Afterwards, I added yet another timeframe key on frame 240 which is the final frame of the timeline and used the x axis move pivot on the Falloff node to move it to the left, ensuring it has my repro MASH being animated by the Falloff node and the timeframe keys added to the timeline.
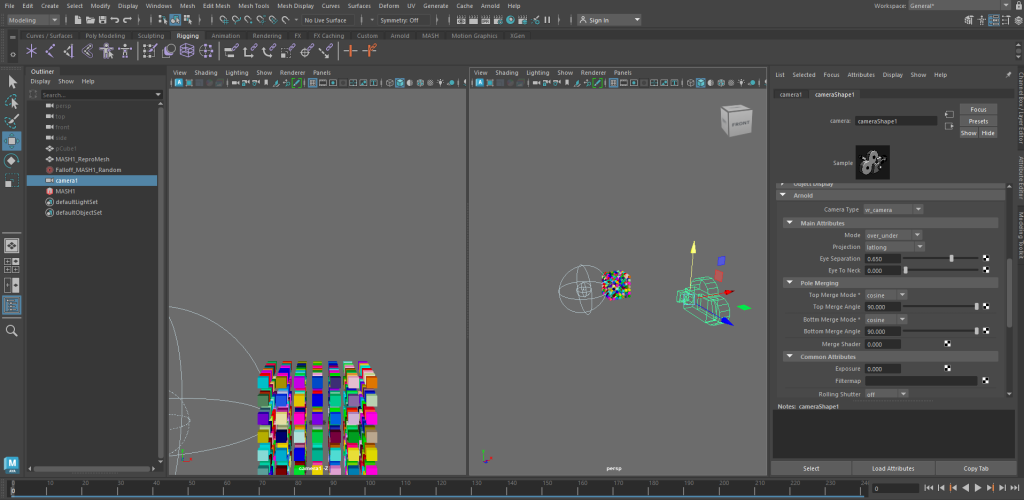
I then added a VR camera which in this image was initially named camera1 until I decided to change the name to VR_Camera that matches what my camera is for this 10 second VR project.


Finally, I went through the same process of ensuring I have everything I needed ready to render my project on Maya before using Premiere Pro to upload my project to YouTube properly to get the best result.
MASH Network Choice
Another 360 VR MASH project I have done for Workshop 2 is a rollercoaster crashing and going through a wall where I again went through a tutorial for it. I chose to make this project instead of the tunnel project which I felt looked harder to make than the roller coaster and wall effect. My rollercoaster warp wall project I created on YouTube is 13 seconds
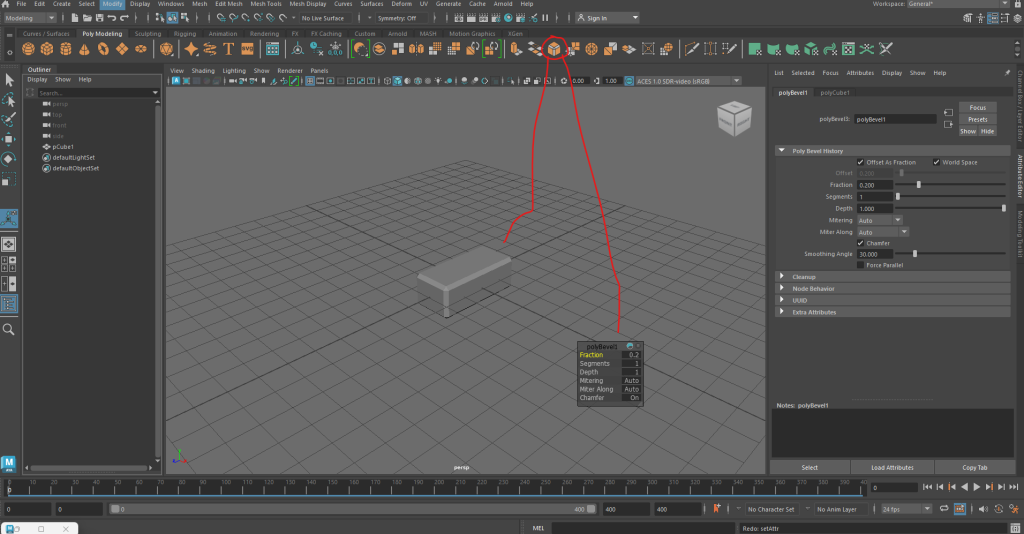

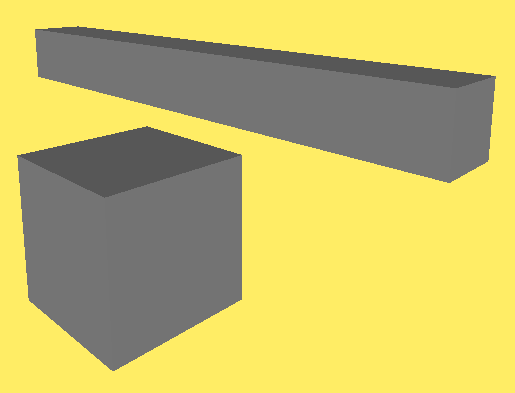
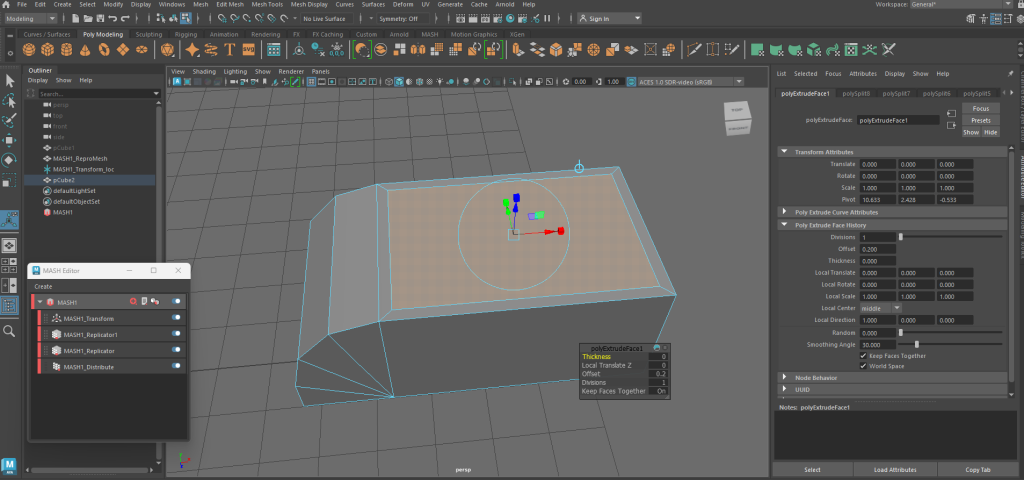
I made a new cube where I scaled it with the scale pivot and beveled it by setting the fraction to 0.2, clicking on the bevel icon via Poly Modeling before softening edges of the shape I brought in.
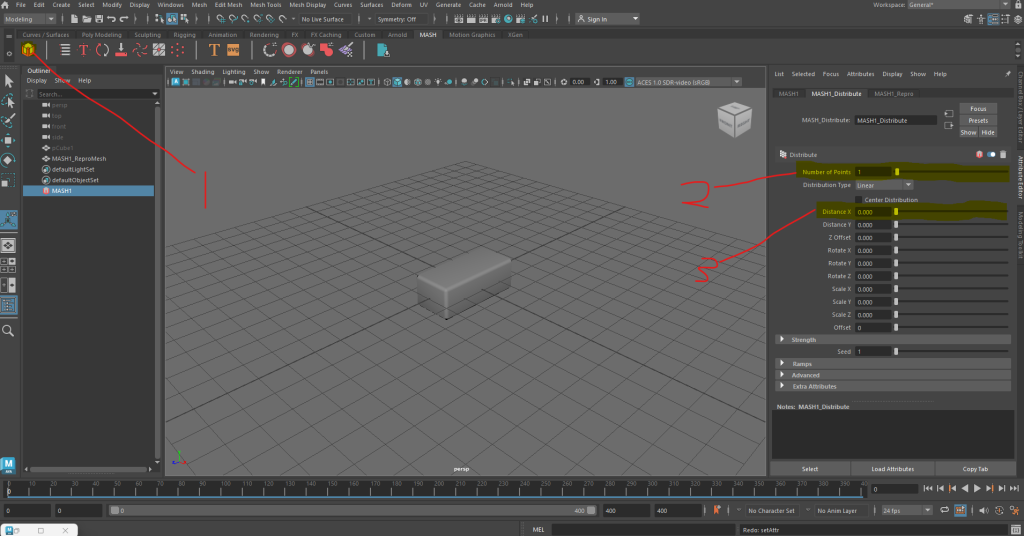
Next, I clicked on the cube first before clicking on the MASH icon via MASH to make another repro MASH, going on the Distribute node to ensure the number of points is set to 1 and the Distance X axis value is 0.

Then, I added a Replicator node where I set the replicants to 1 and ensuring the Set Offset Position Z value is set to a number where I saw two bricks consistently collided together enough to set the replicants to 14 to make a row of bricks.

Then I went to the Pattern section where I have set the Pattern Offset Y value to a number where I saw some bricks at the top and some others at the bottom before going back to Offset Position Z to set its values to a number where all bricks are stacked up well and consistent enough for the replicants to be set to 17 to see that they still stack up nicely consistent enough to move onto the next stage.

Afterwards, I created another replicator where I set the Replicants and Offset Position Y to values where I ensured there were enough bricks that were consistently stacked up well enough to make a wall.

I then added a Transform node where I went on Controller Null and right clicked on the black box, then clicked on create to make a transform location where I moved the wall to a perfect location for the rollercoaster to be created.
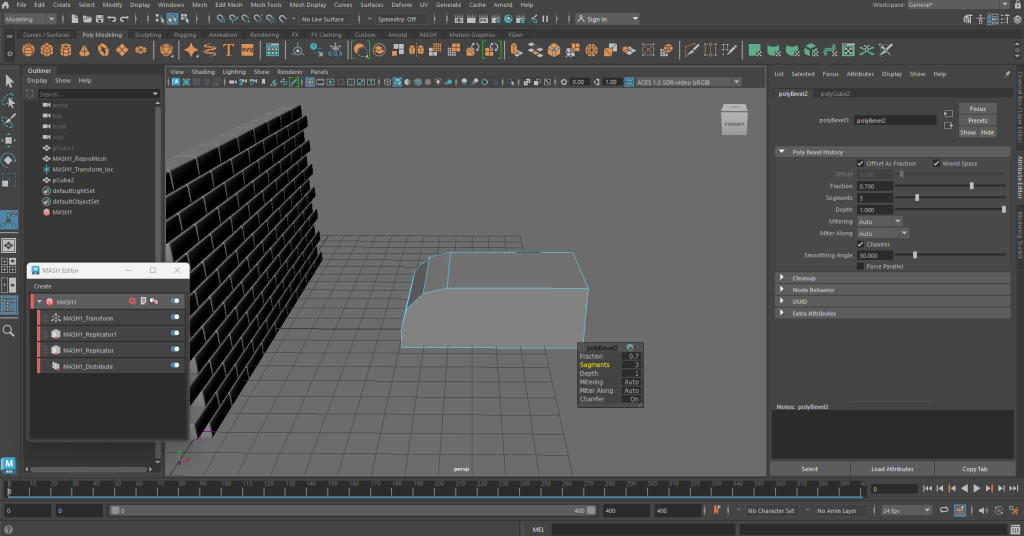
I created another cube, scaled it with the scale pivot and beveled it, setting the fraction to 0.7 and segments to 3 before scaling it.

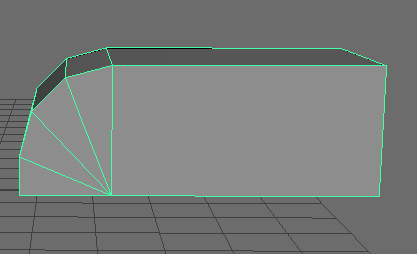

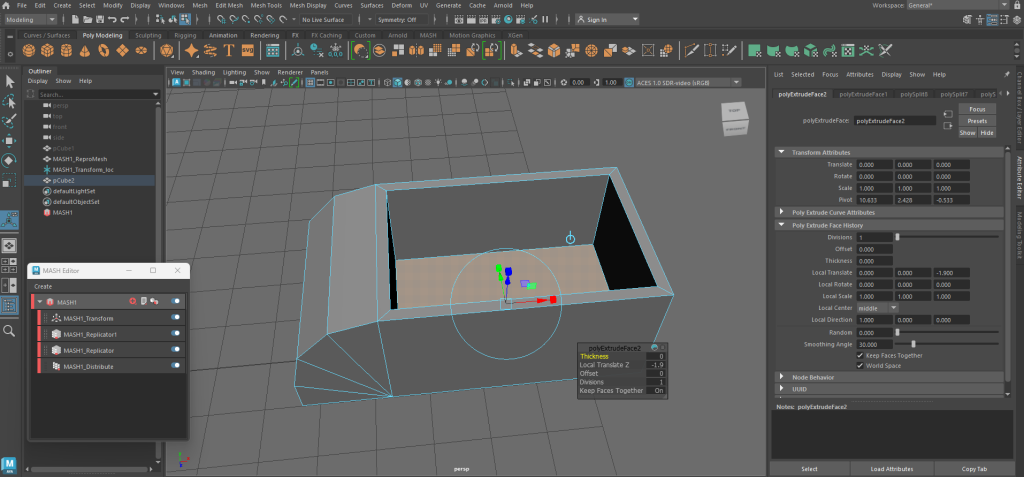
I used the Multi-Cut tool, right-clicking on edges where I created extra lines for the rollercoaster before extruding the offset of the square on top, then extruding again using the blue pivot to make the rollercoaster.

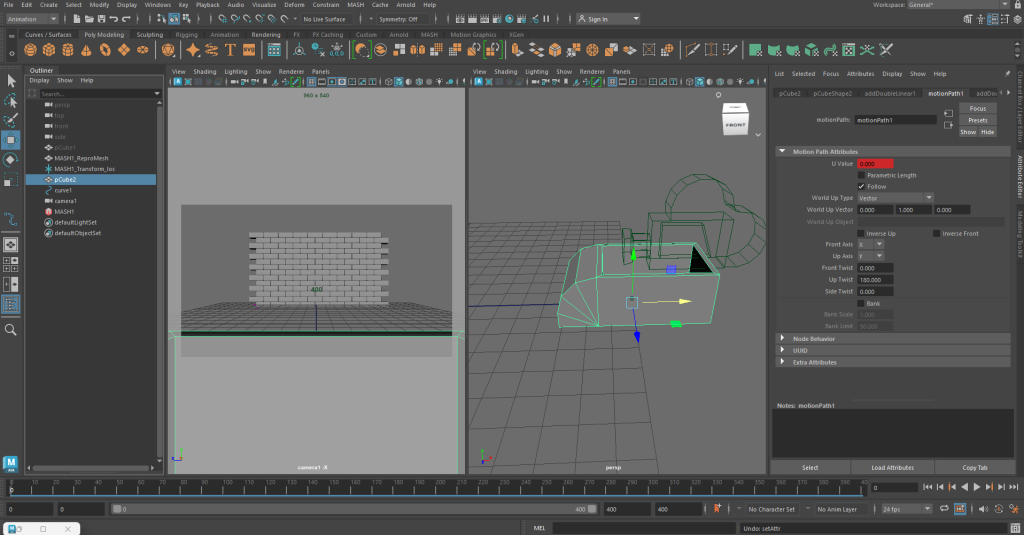
I then went on the top view camera before clicking on the EP Curve Tool before holding X on a grid to ensure I created a straight line where the rollercoaster would crash through a wall.

Meanwhile, I moved the pivot of rollercoaster pressing D before holding it and then pressing V to vert snap the pivot to the base of the rollercoaster. I then went on animation and clicked on curve first before the rollercoaster to highlight both and went to Constrain, Motion Paths and clicked on Attach to Motion Path. Afterwards, I went o. motionPath and Attribute Editor to sort out twists and axis to ensure the rollercoaster faced the wall.
I then added a camera and used the rotate pivot for it so the camera faced the wall before putting the camera inside the rollercoaster.

I then went on Perspective and my camera before I went on View, Camera Settings for my camera to change the camera view to Resolution Gate and change the focal length of my camera to get the best result. I then clicked on my camera first before the rollercoaster model and pressed P to make the camera a child of the model.

I the went back on MASH to create a Signal node to change the position and rotation values of the MASH wall before repeating the process of how I made a Falloff object, only for it to be made another child of the rollercoaster model.
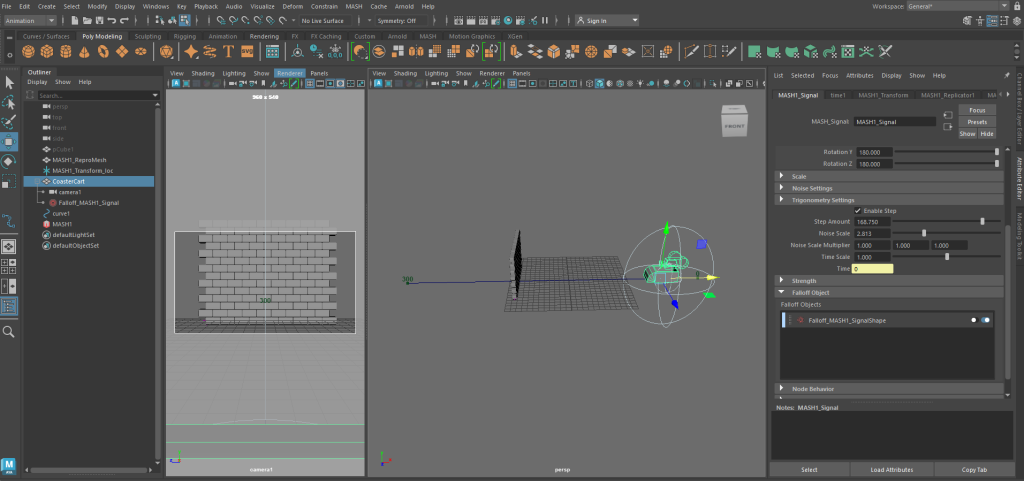
I added some changes to the wall effect via the Signal node using its attributes and scaled the Falloff node to get the best result for my rollercoaster and wall project.
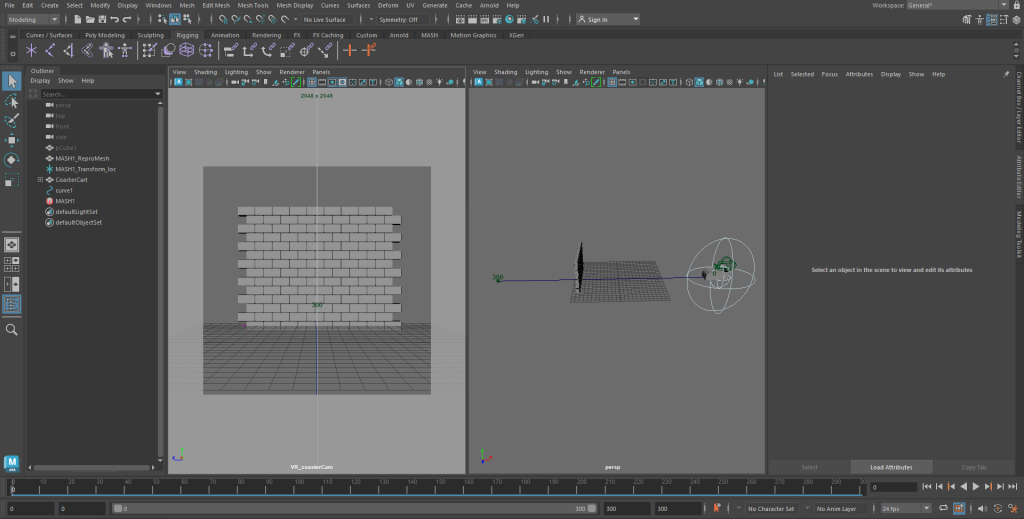
I then set out timeframe keys on a timeline where the total frames for this project is 300 and the fps speed is 24, using the same method of creating the timeframe keys on the timeline. I also changed the name of the camera from Camera1 to VR_coasterCam.

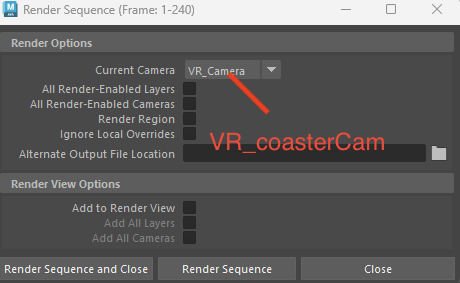
Finally, like I did with my two other proper VR projects, I went through the same process of ensuring I have everything I needed ready to render my project on Maya before using Premiere Pro to upload my project to YouTube properly to get the best result. On Render Sequence, I checked that the current camera for this project is VR_coasterCam.
Conclusion
The tools on Maya are complicated, so I had to follow tutorials to help myself get the best results for my projects. Overall, these projects had interesting tasks so I experienced how to make VR projects.